Clinical Case:
Step by step rehabilitation after loss of two maxillary incisors.
Case description:
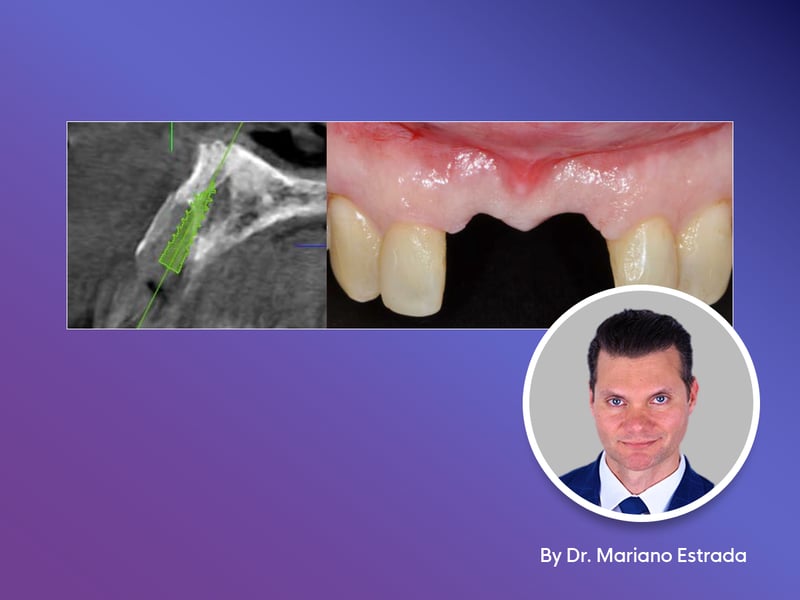
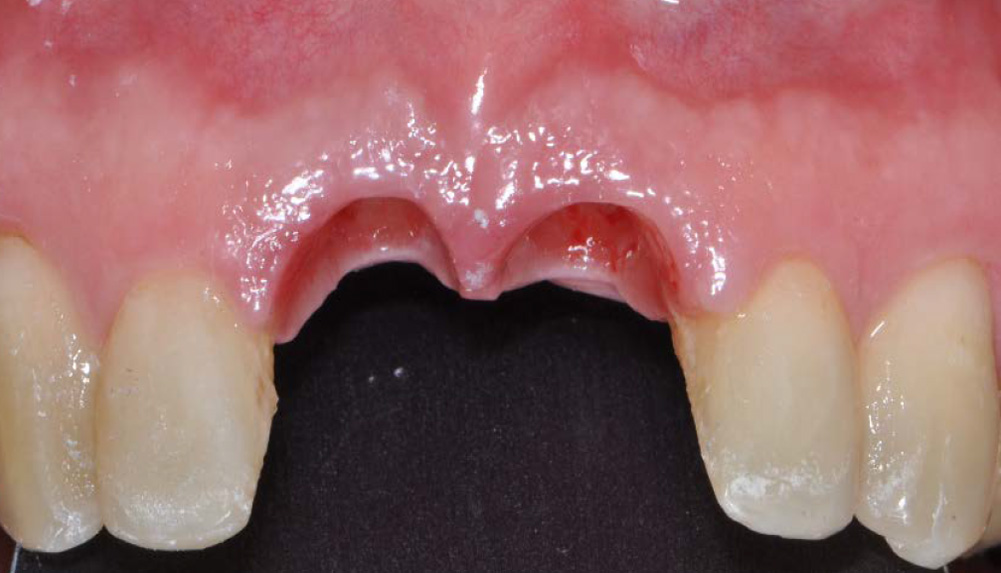
2014, A 55-year-old male patient.
Lost two central incisors due to trauma.
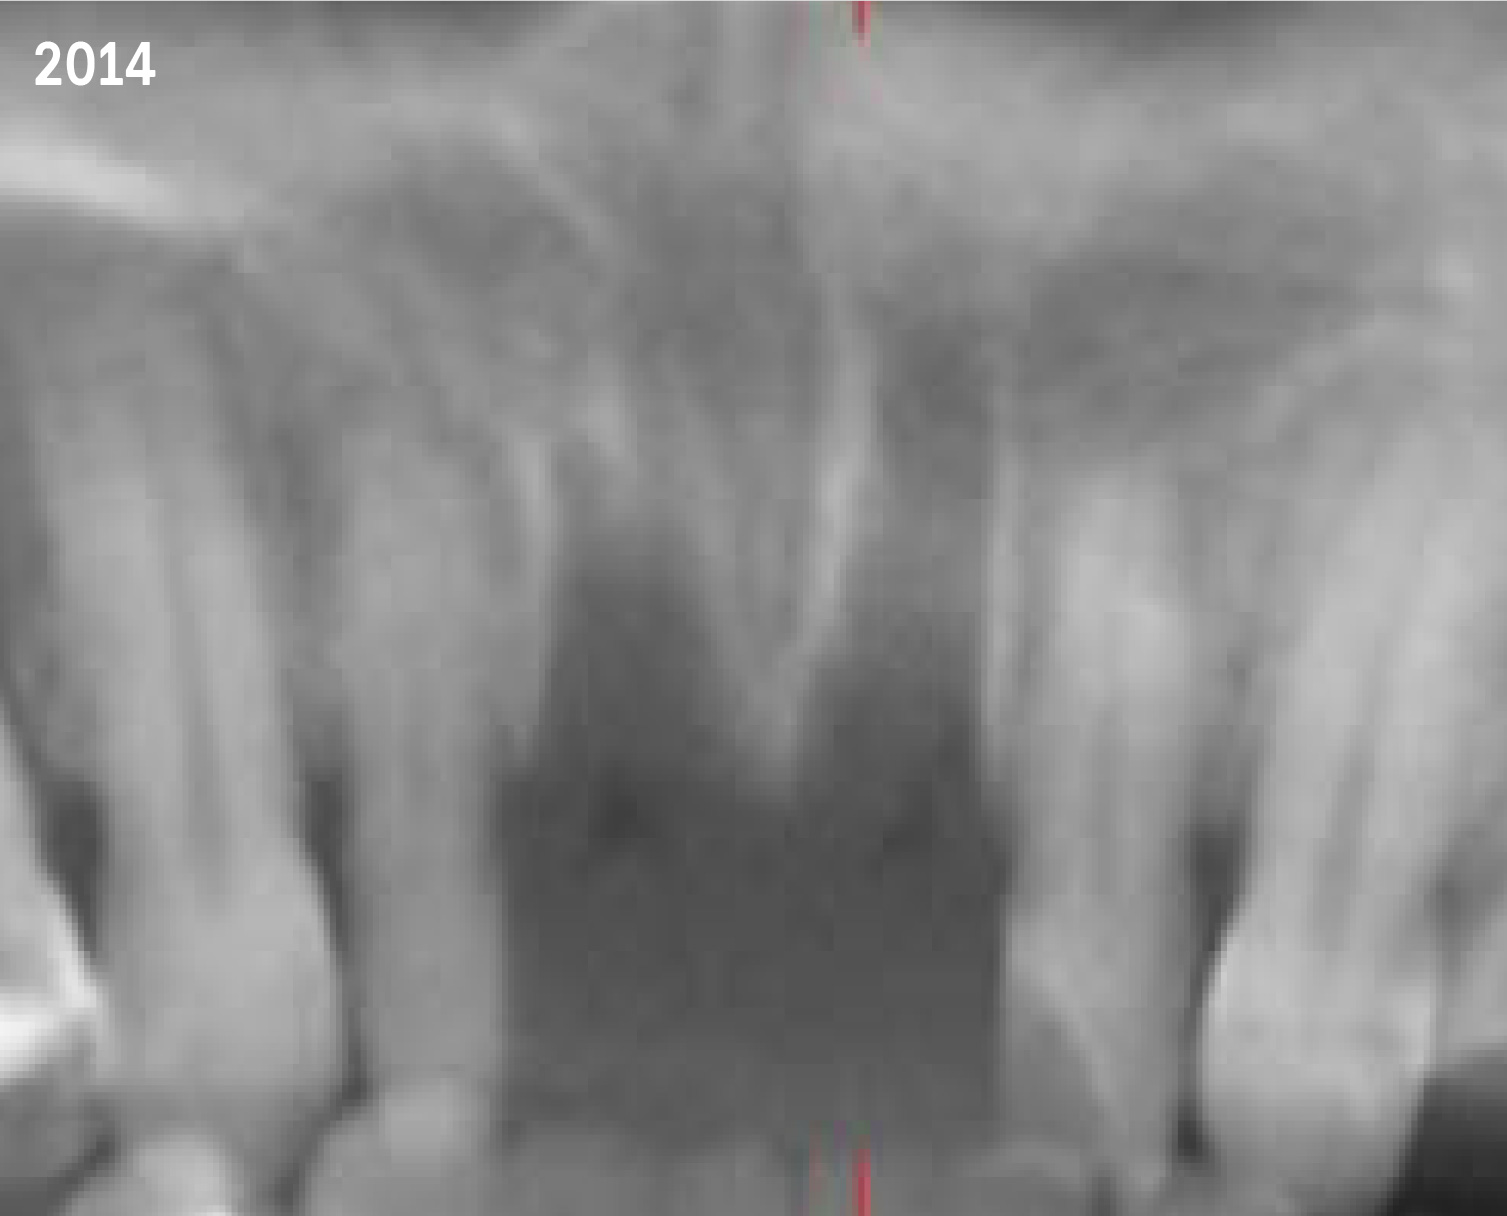
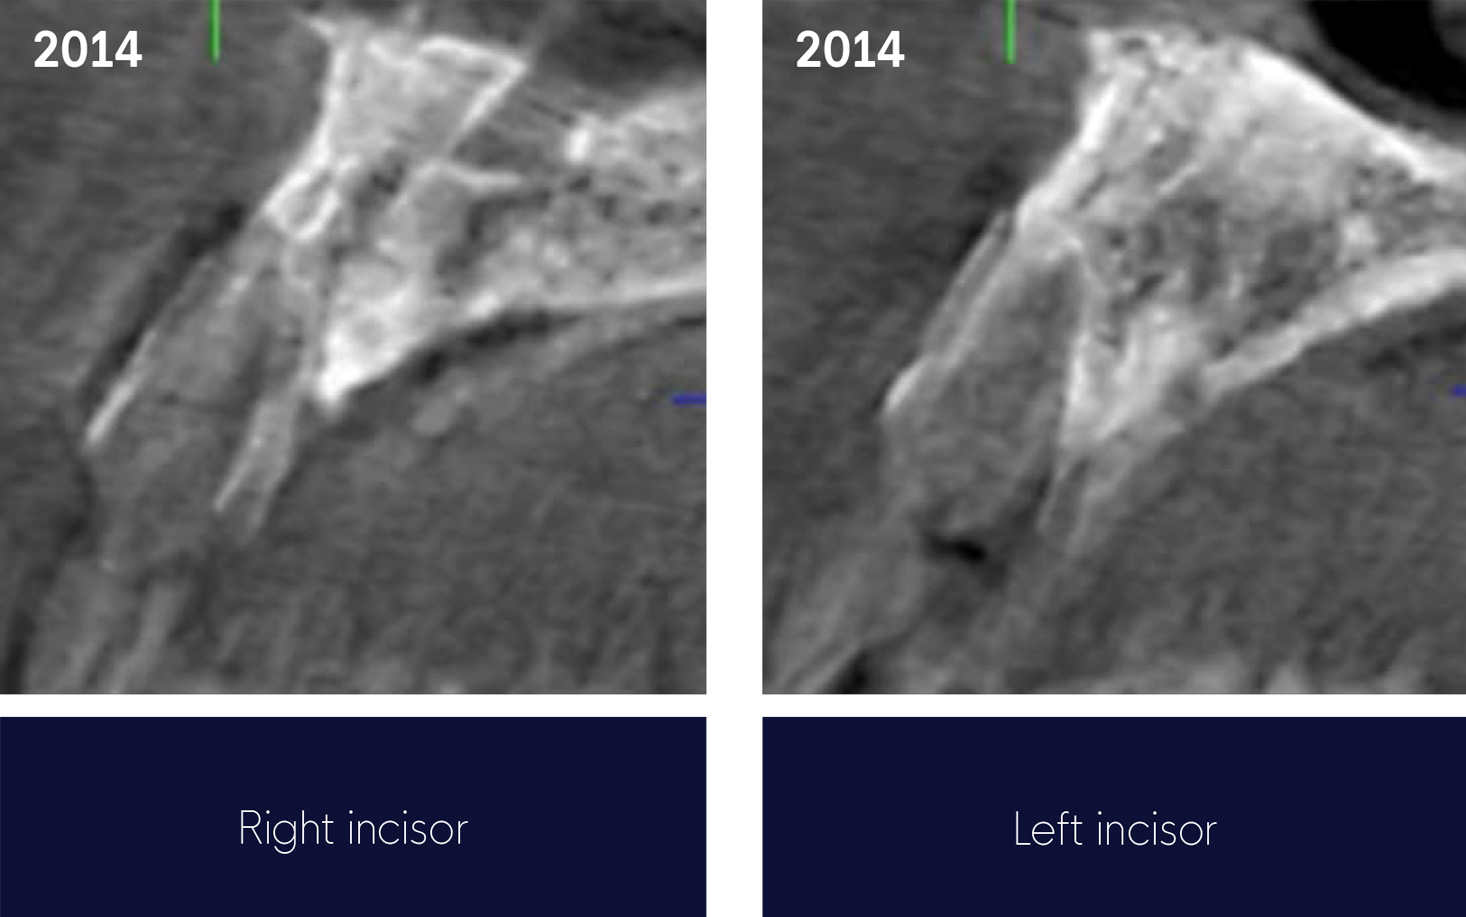
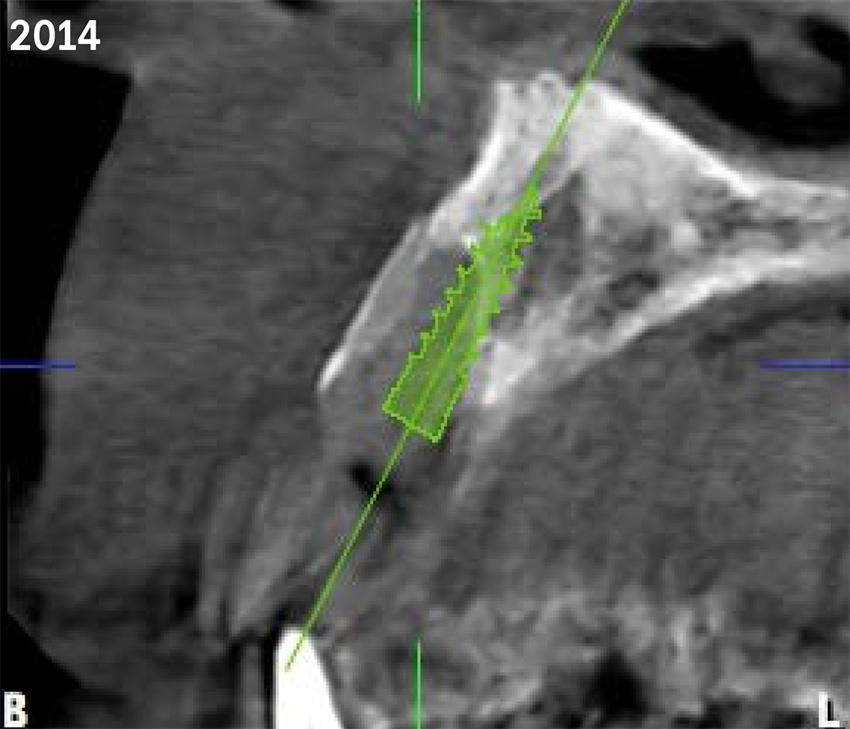
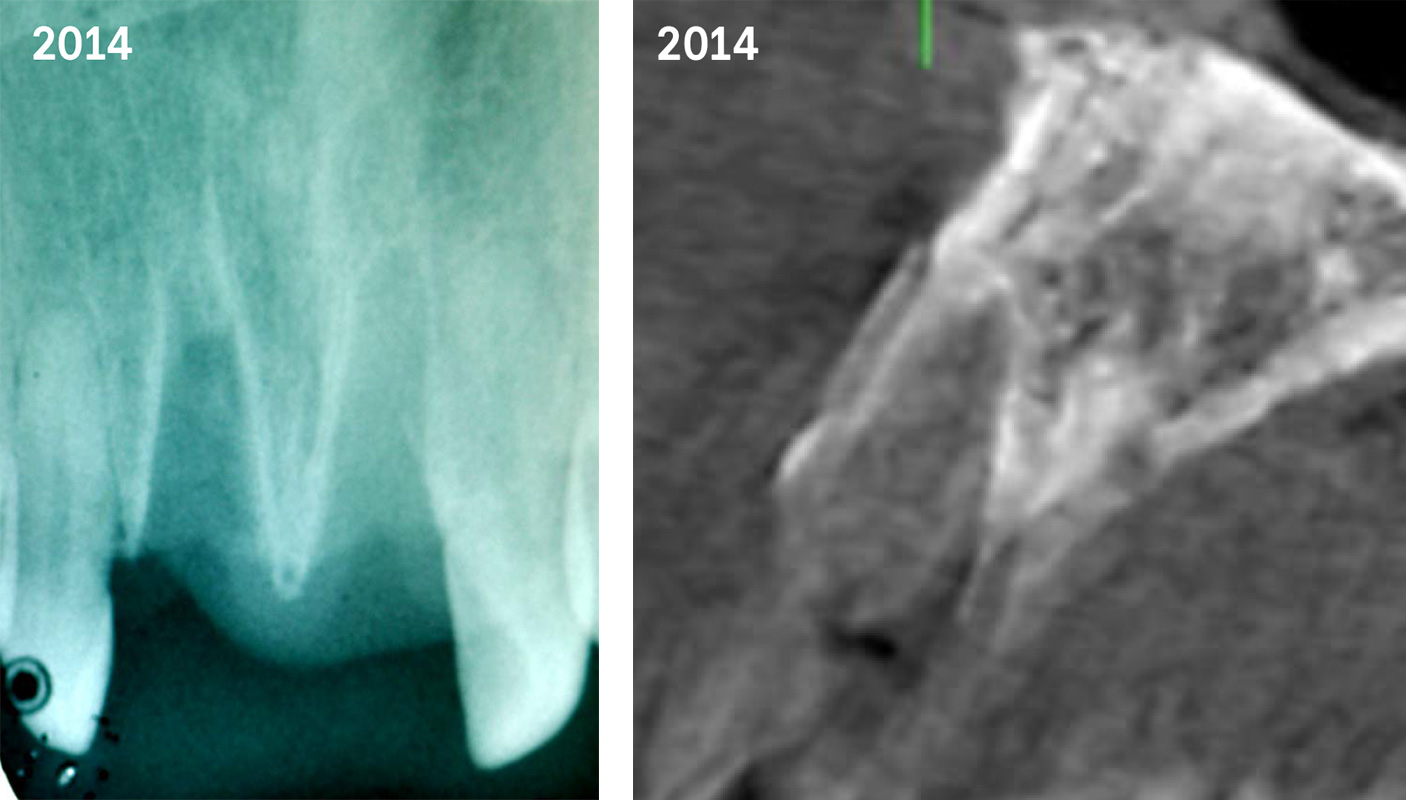
Radiograph and CBCT images from the sockets.
Buccal bone wall preserved.
Socket Classification Type 1 . Tarnow / Elian 2007.
Tarnow D, Elian N et al . Pract Proced Aesth Dent 2007;19(2):99-104
Type 1: Socket
(6 weeks after extraction)
Tarnow D, Elian N et al. Pract Proced Aesth Dent 2007;19(2):99-104
Minimally invasive incision Technique
Step 1: A very conservative initial incision was made using a 15-type scalpel.
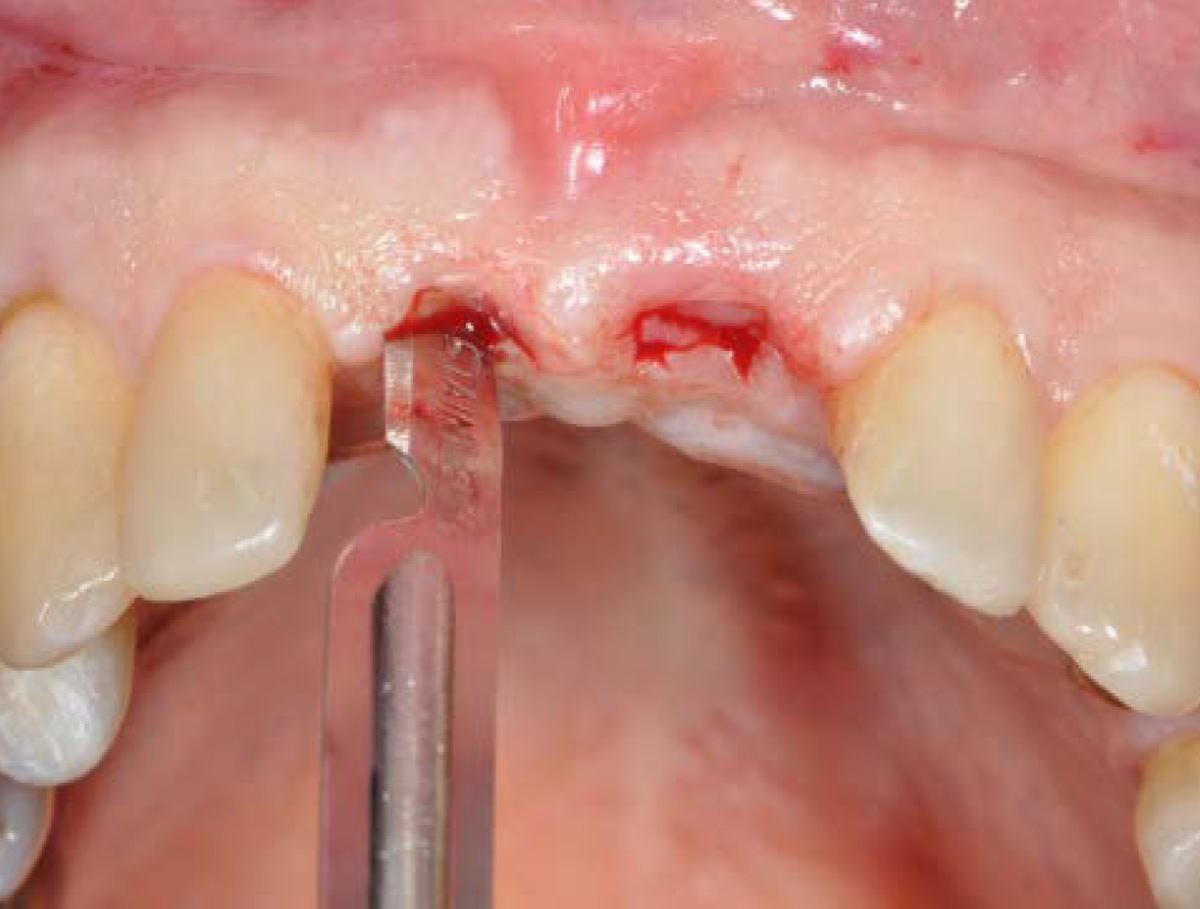
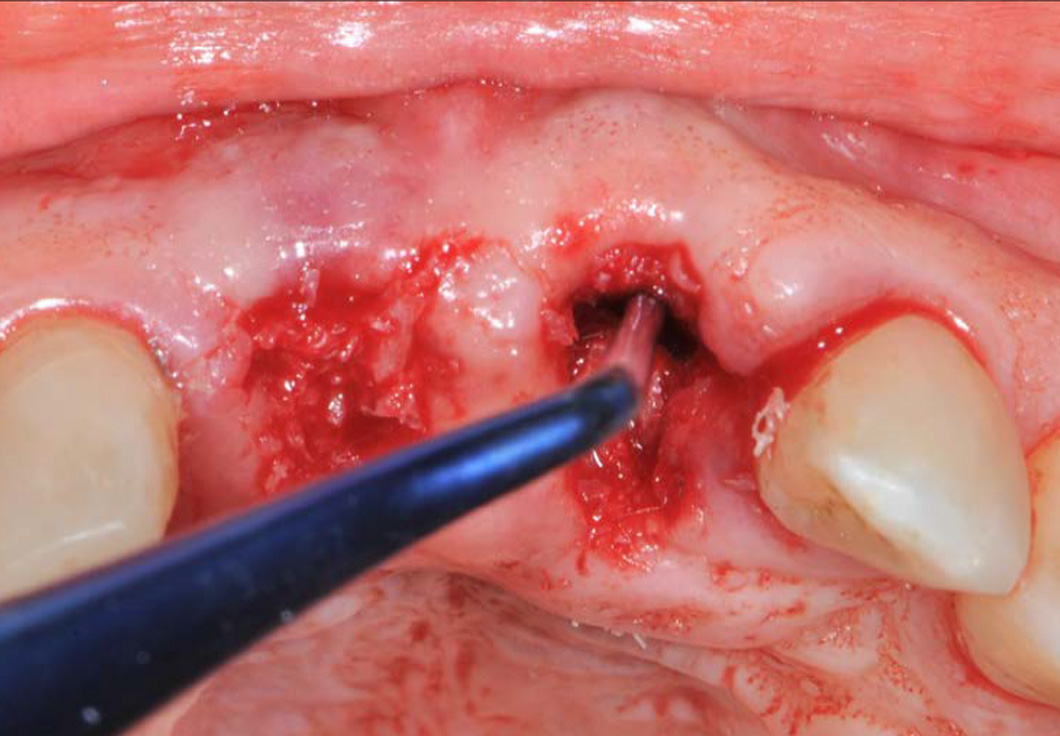
Step 2: Careful removal of granulation tissue form the socket.
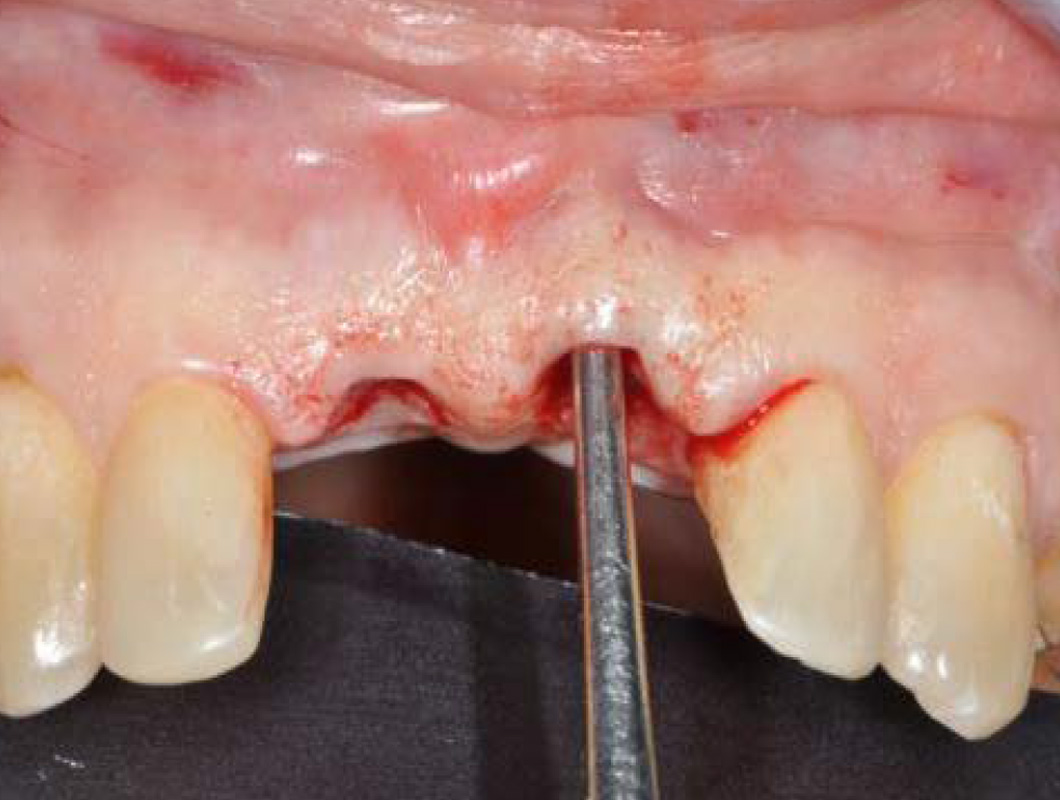
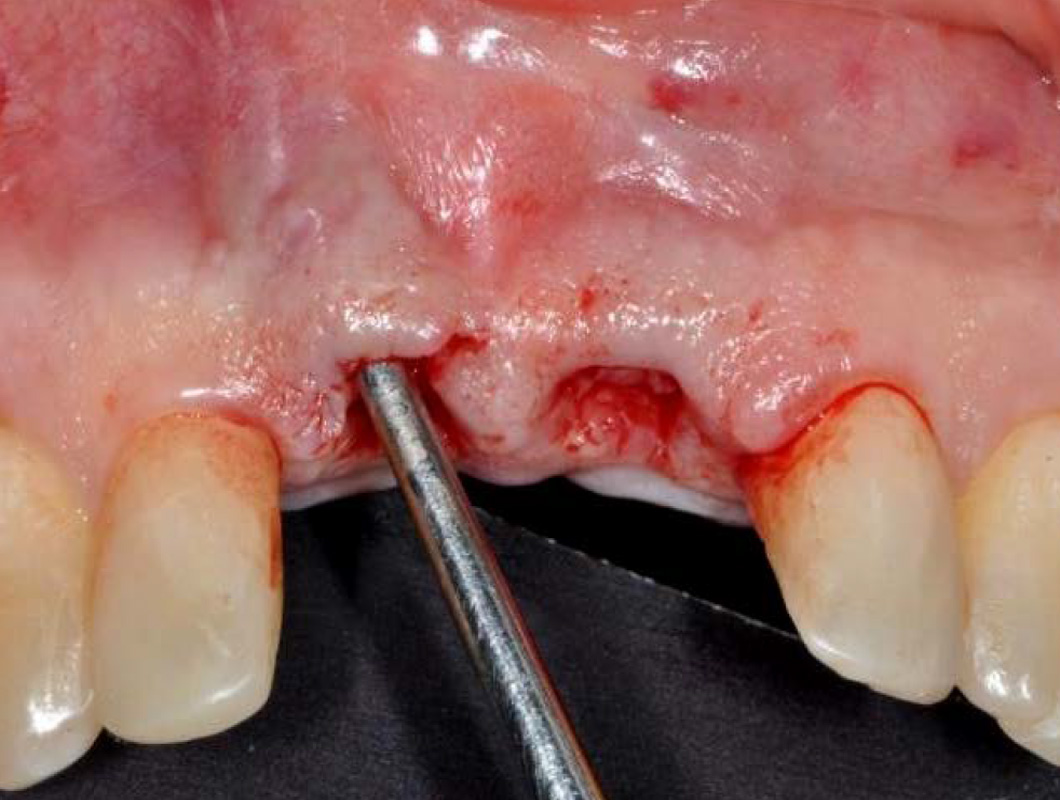
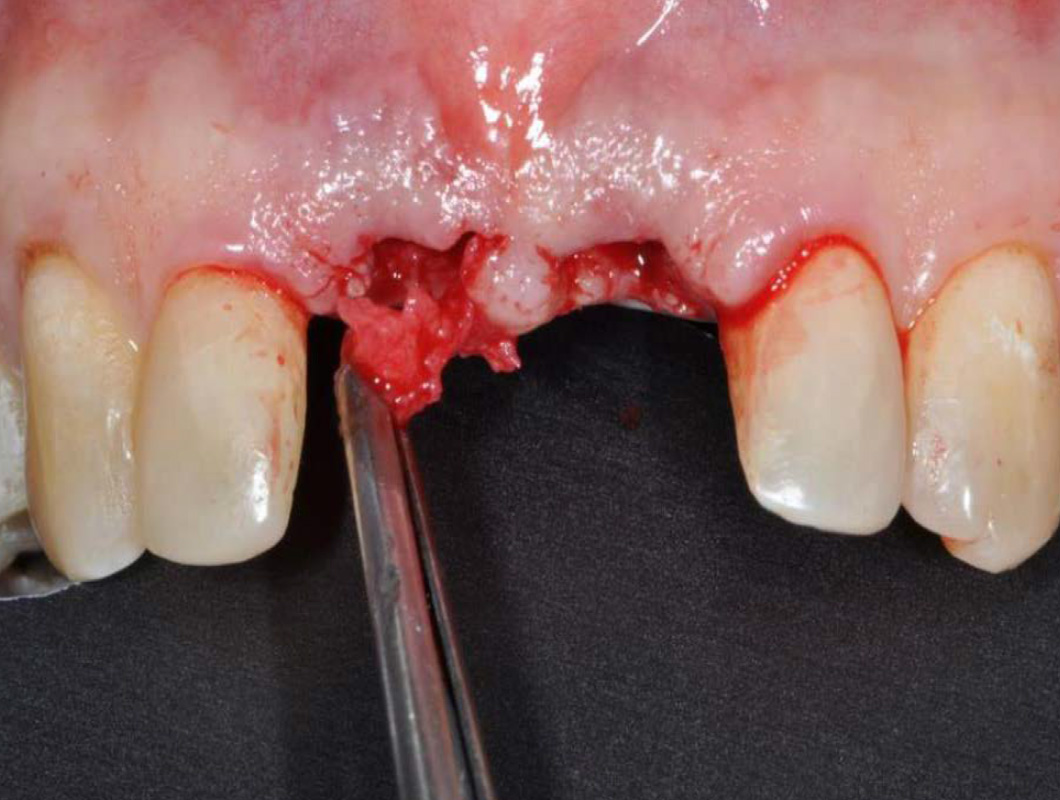
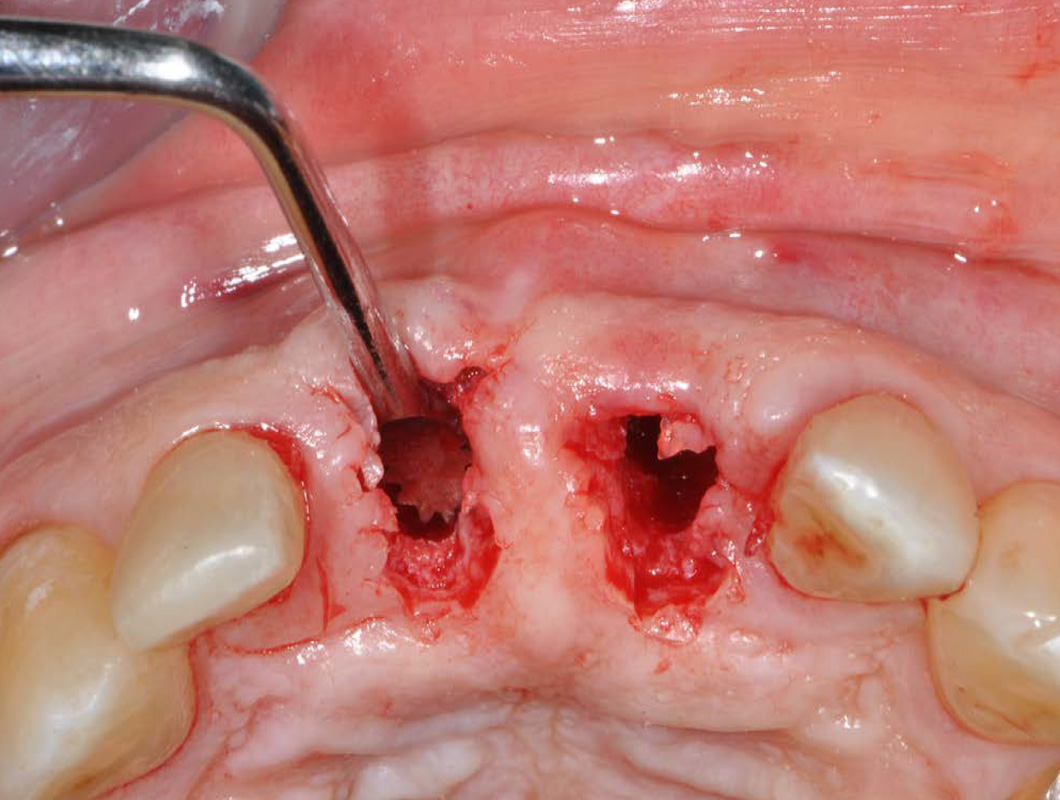
Papillae area manipulation
Step 3: Partial debridement of the papillae attachment to enhance its final position.
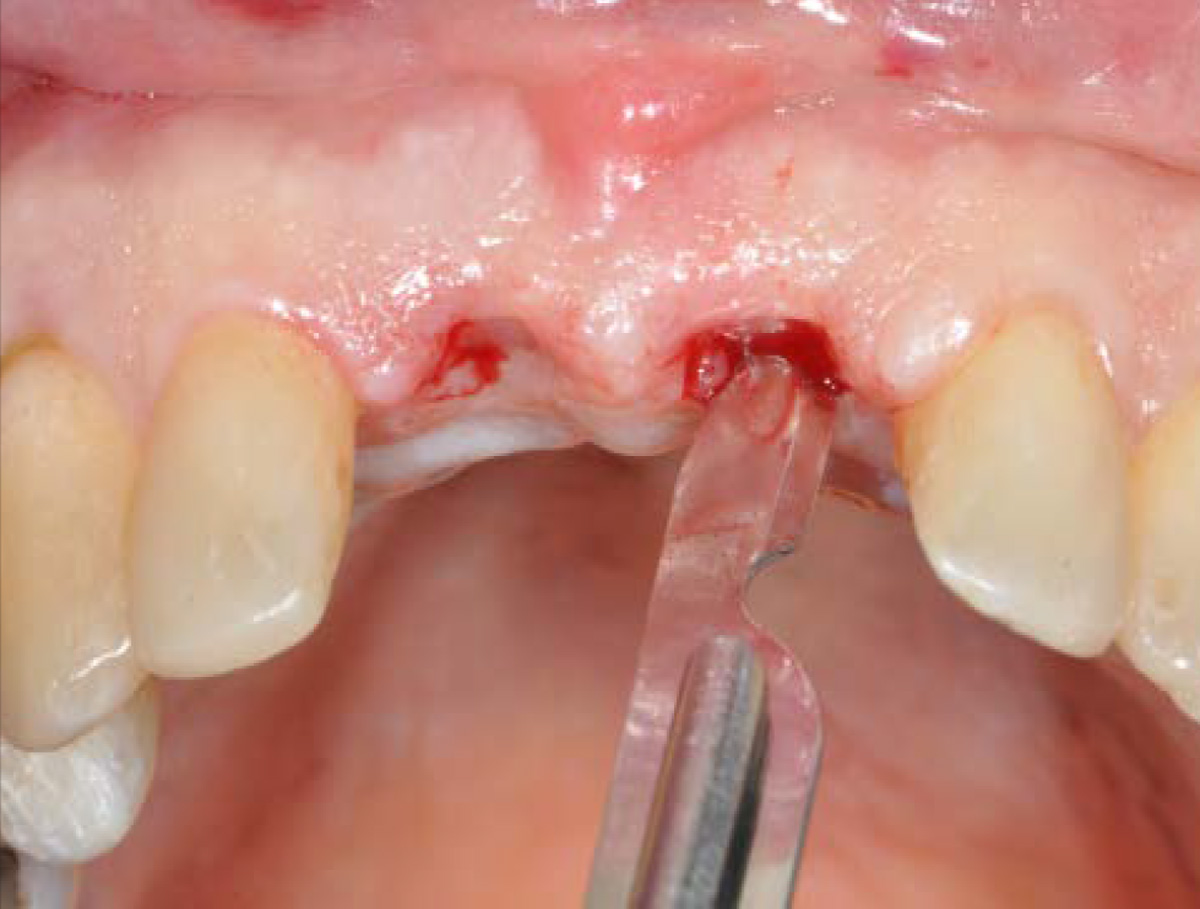
Surgical guide
Made from hard sheet of 0.40 mm metacrilic material with two acrylic resin teeth inside.
Holes mark the required position of the implants, at the cingulum of each tooth.
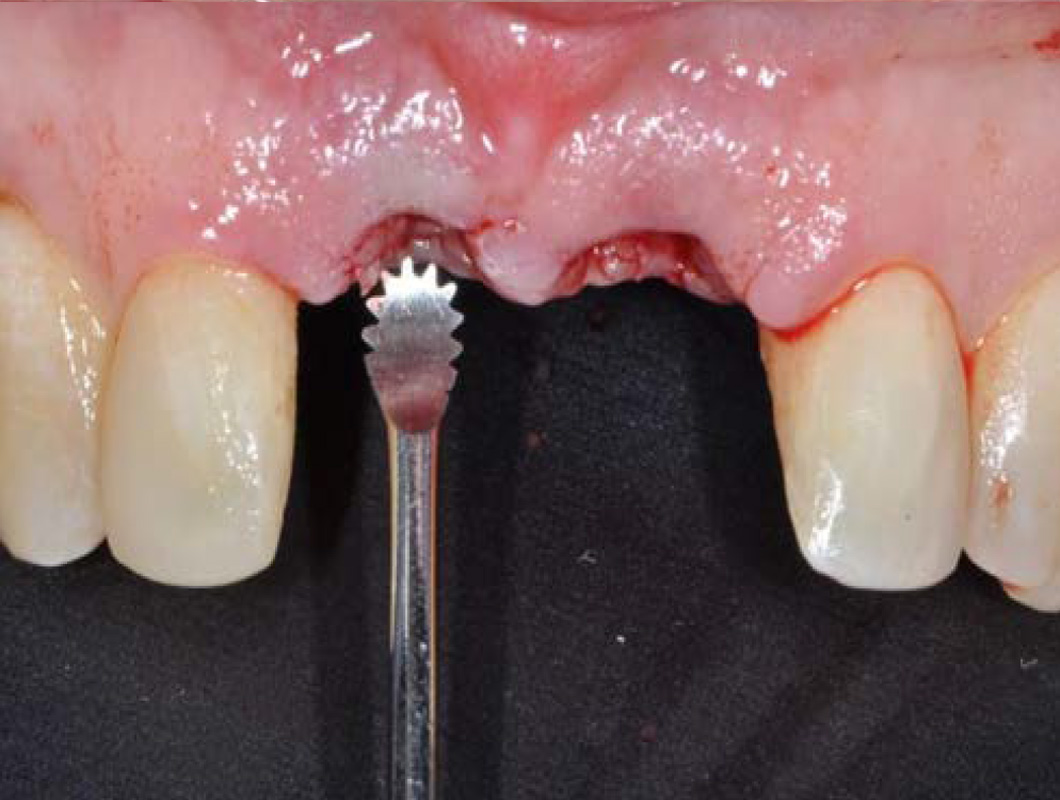
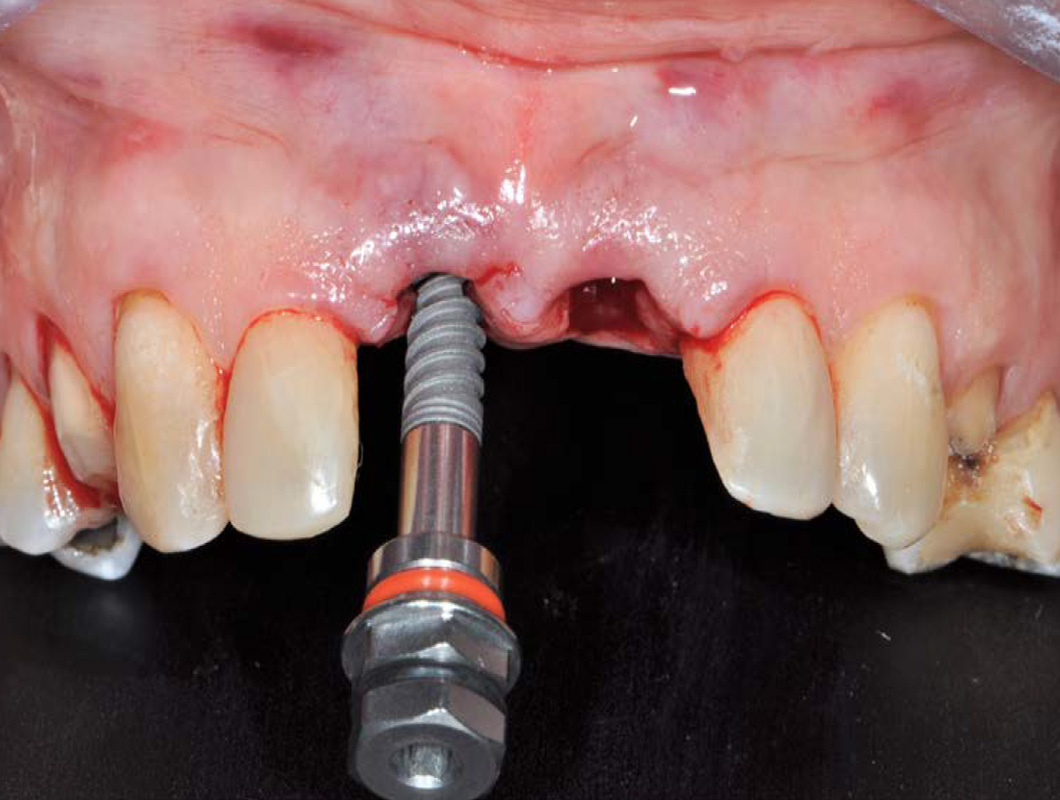
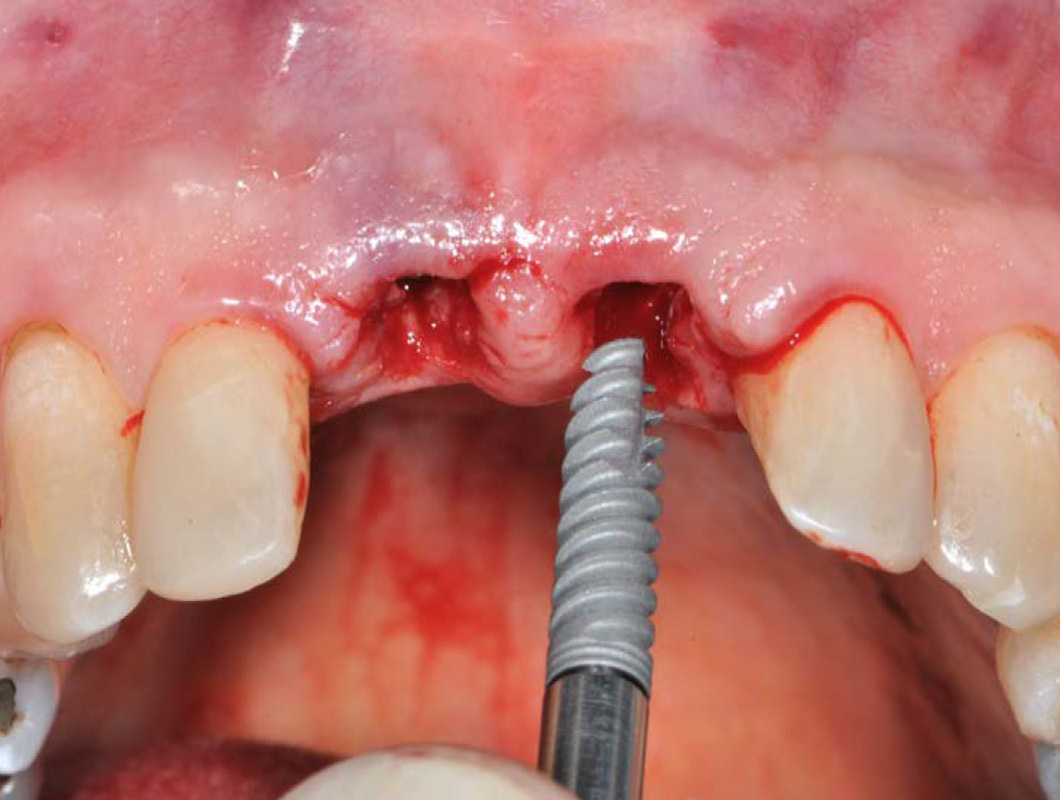
Drilling sequence
Step 4: Using the surgical guide, a marking drill is used to mark the ideal position and direction of each implant.
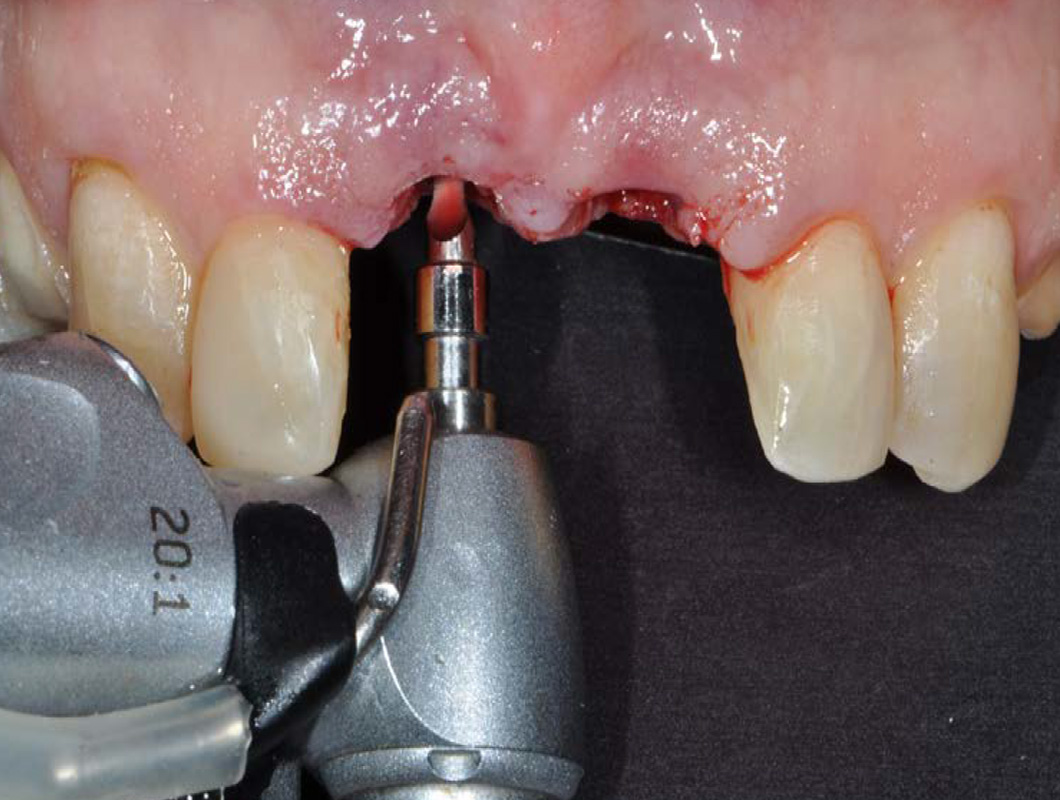
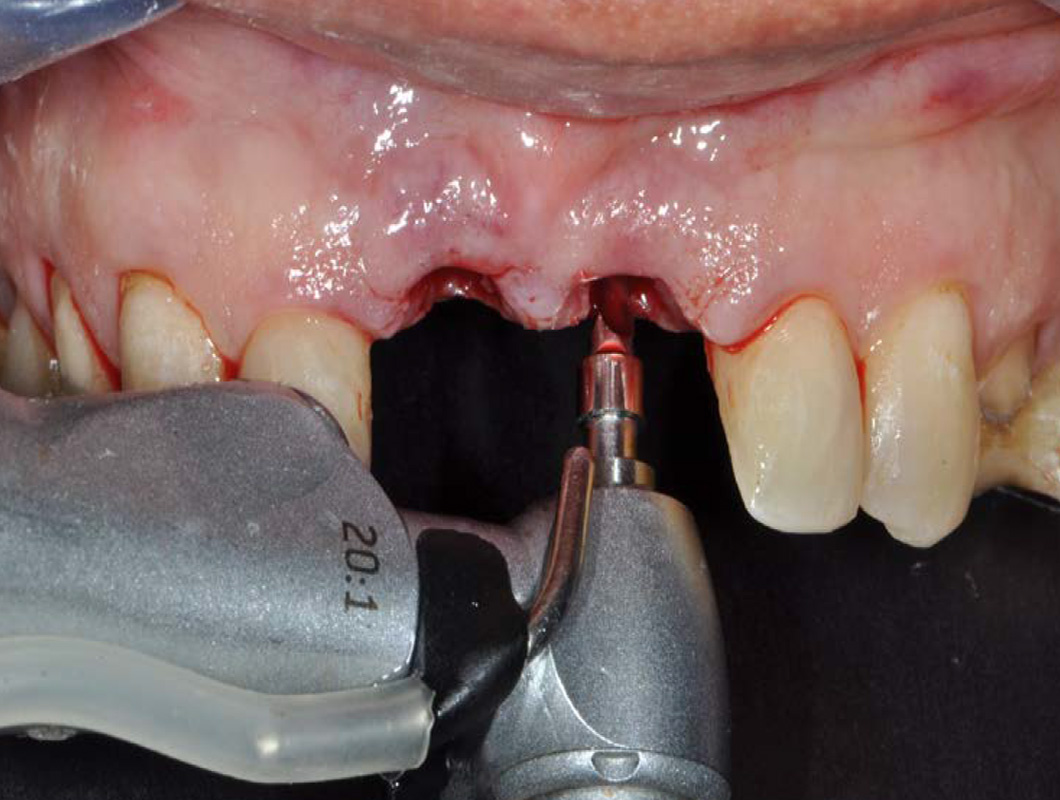
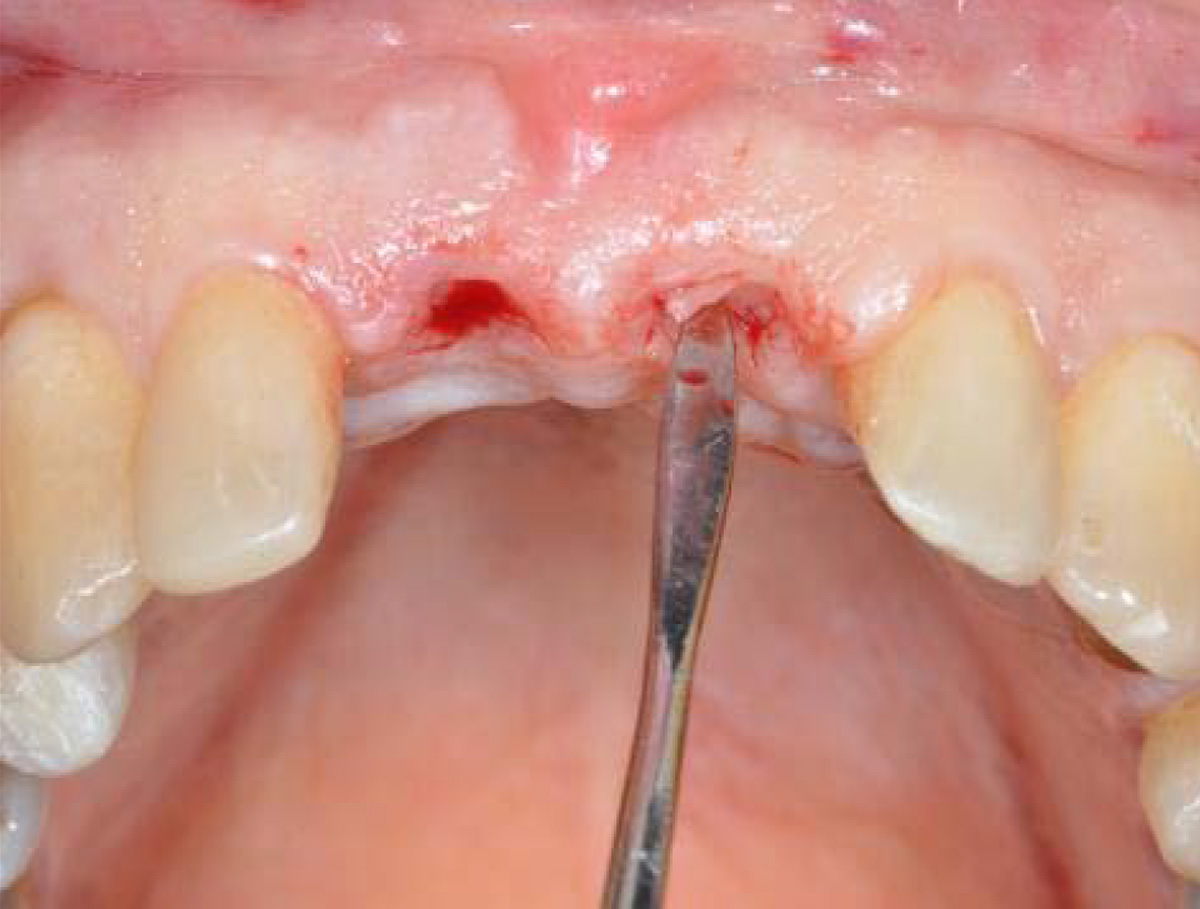
Step 5: Drilling to the desired depth.
Option 1: using a 2mm drill
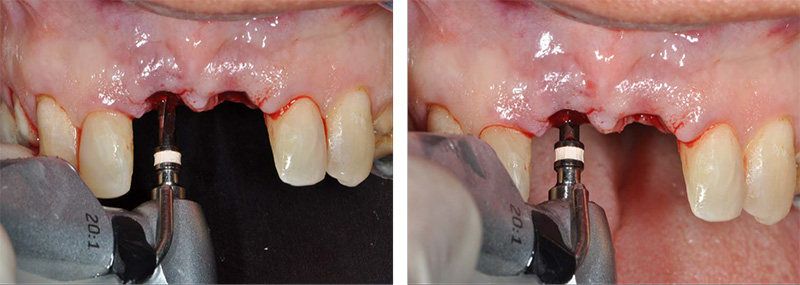
Option 2: using a Tri-step drill
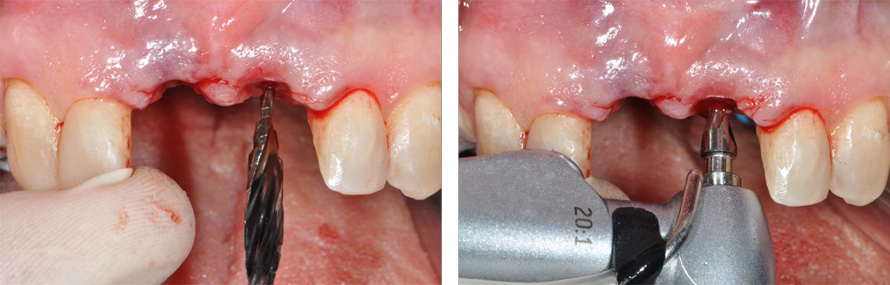
Step 6: Evaluation of 3D parallelism between the two implants.
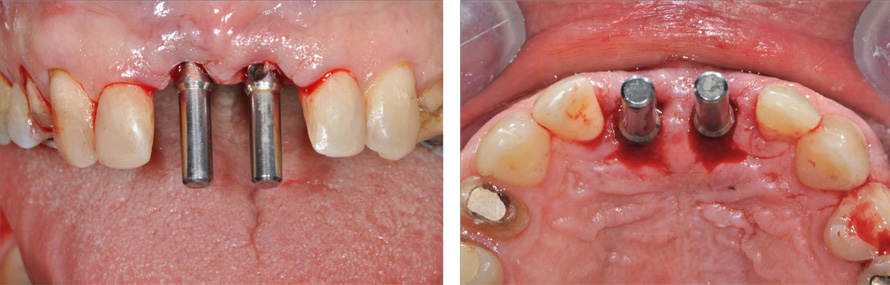
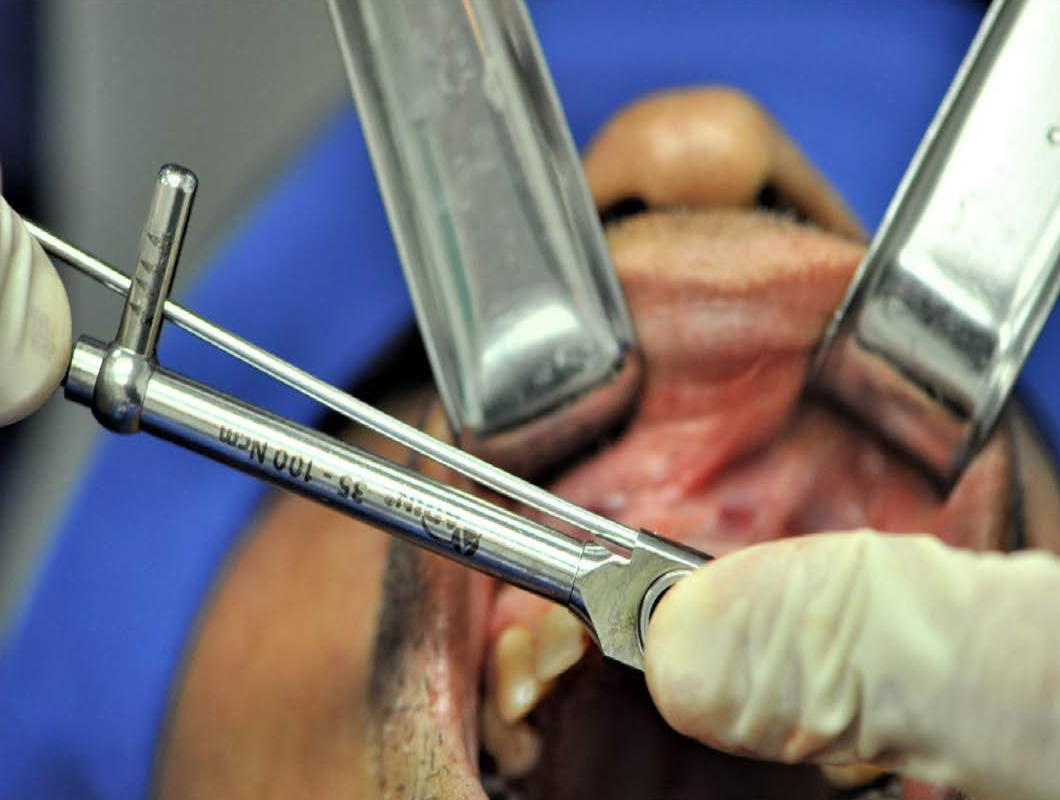
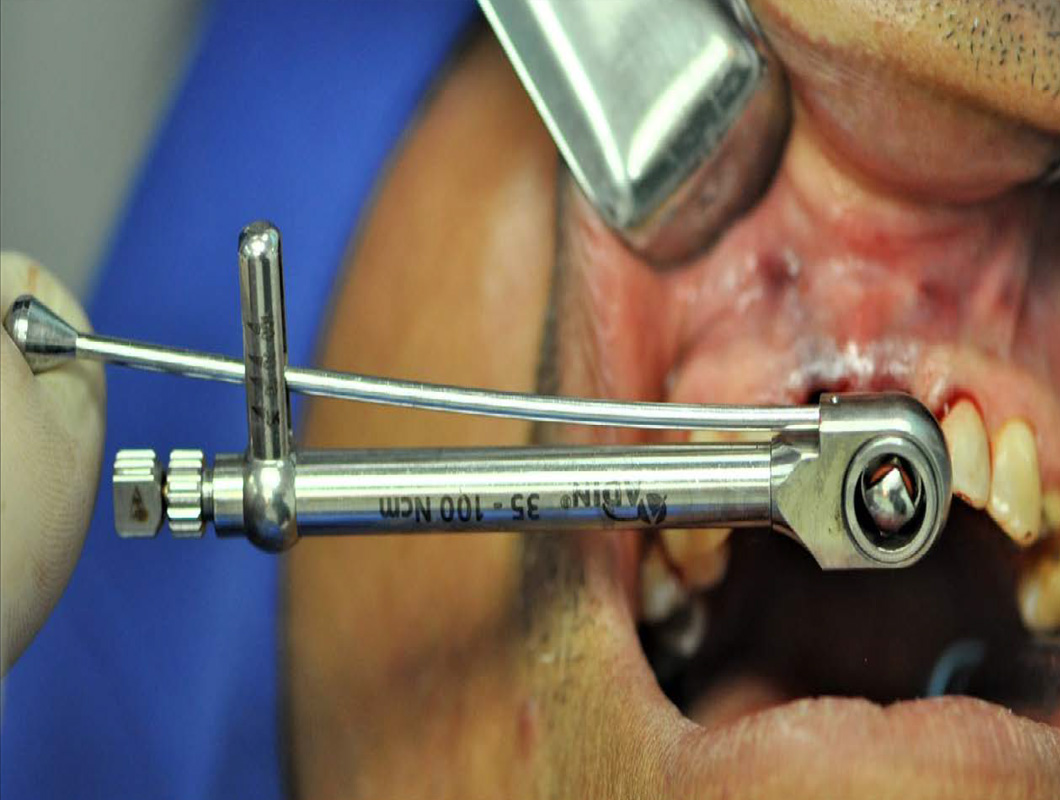
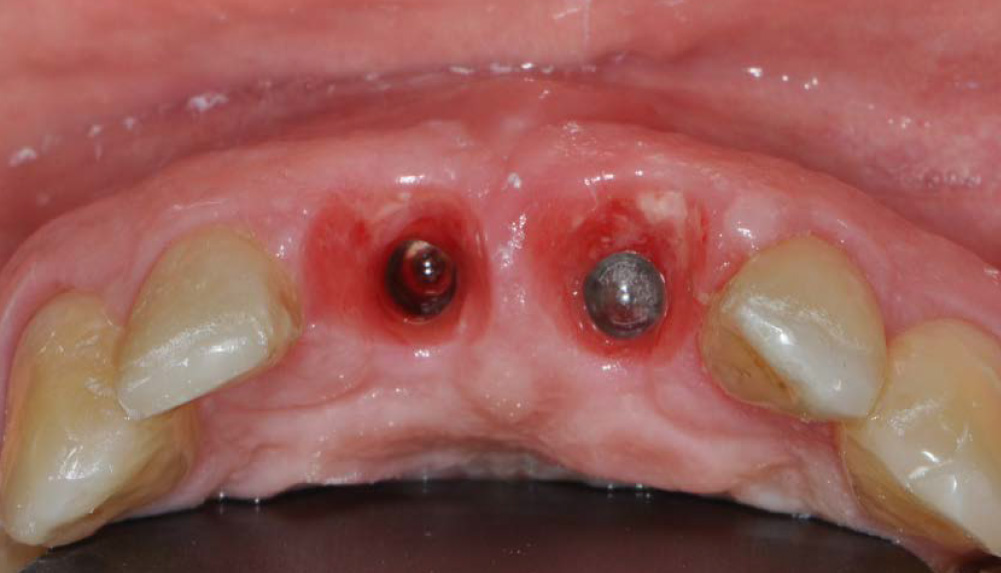
Implant type
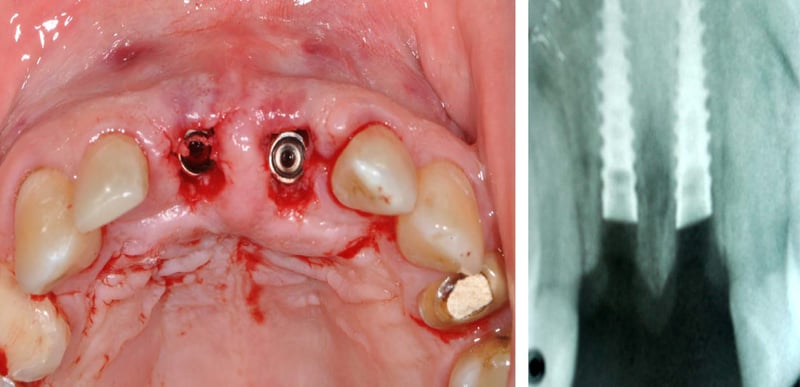
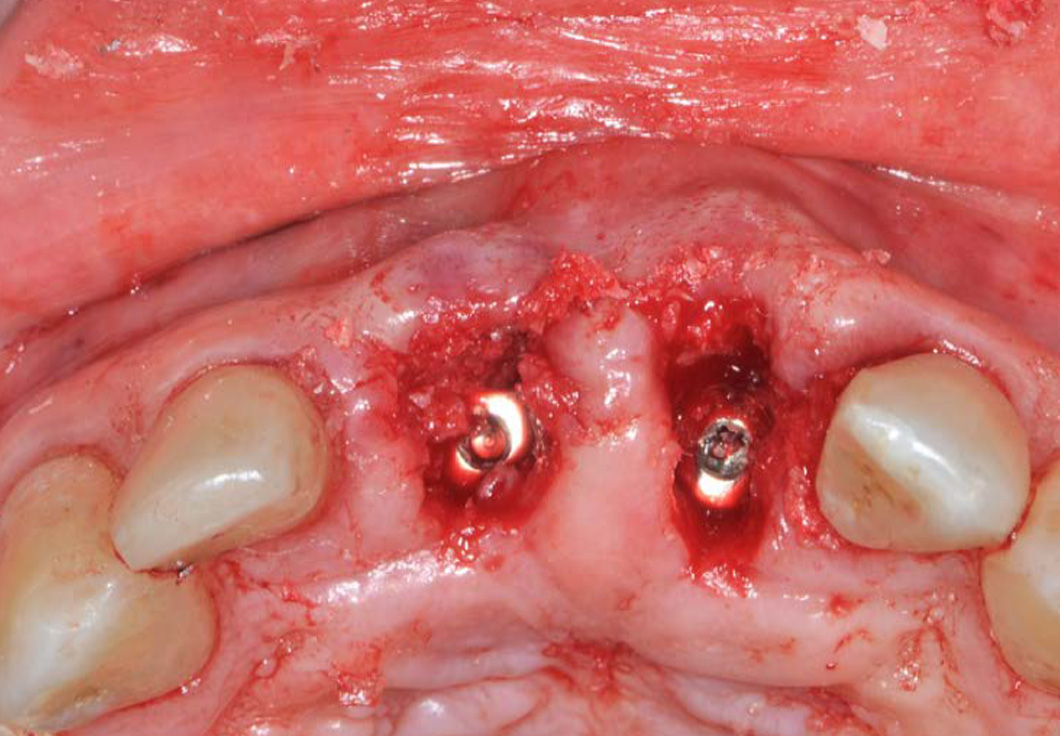
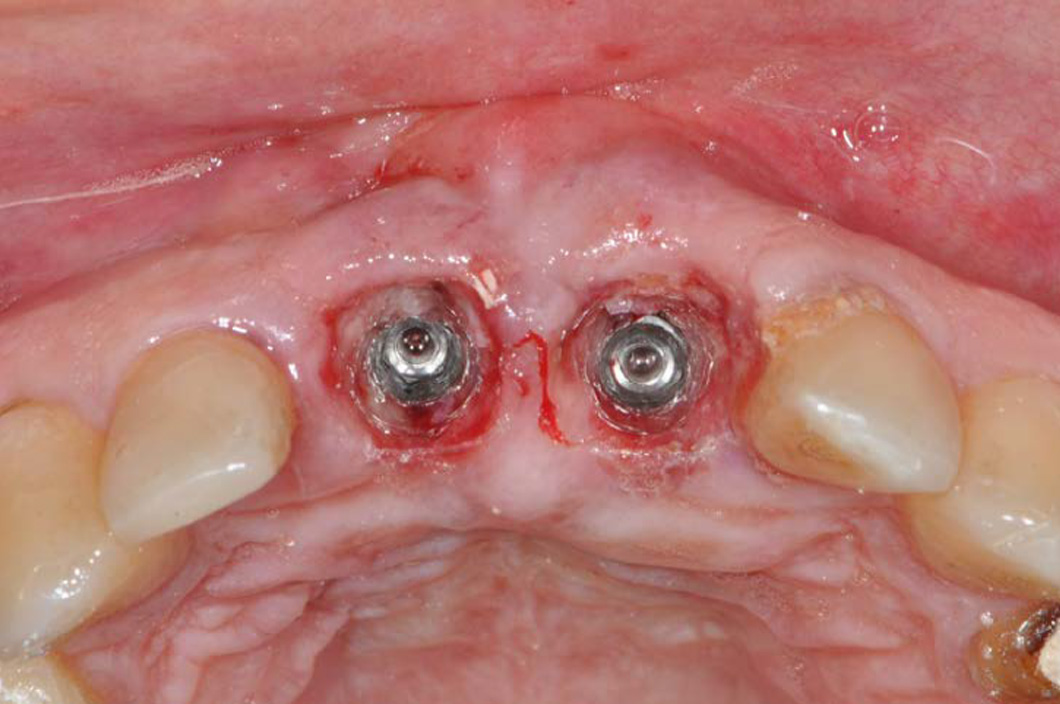
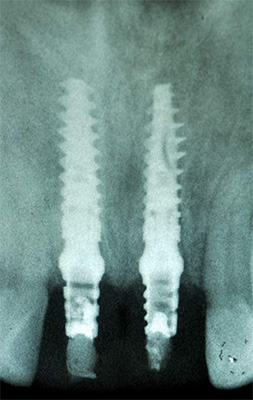
Step 7: Both implants were: CloseFit 3.5X11.5mm RP implants.
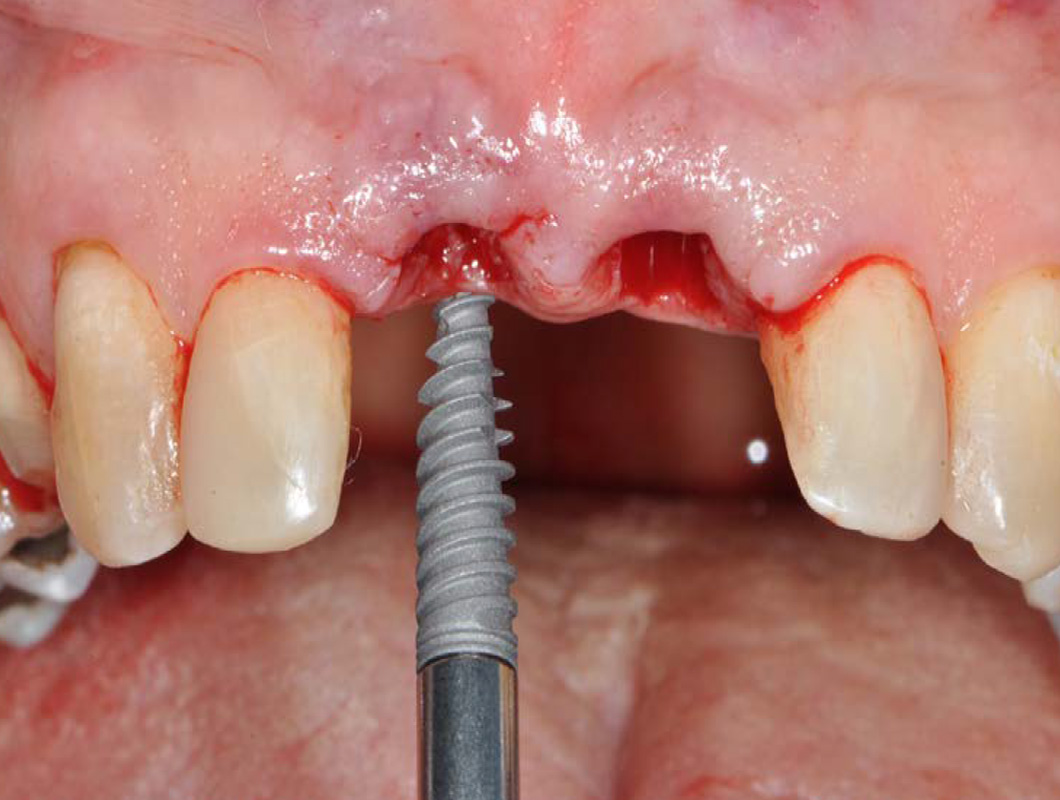
High Torque values for each one of the implants
Step 8: Torque measurement.
Implant were placed 4mm bellow the CEJ of the adjacent teeth
Implant were placed 4mm bellow the CEJ of the adjacent teeth
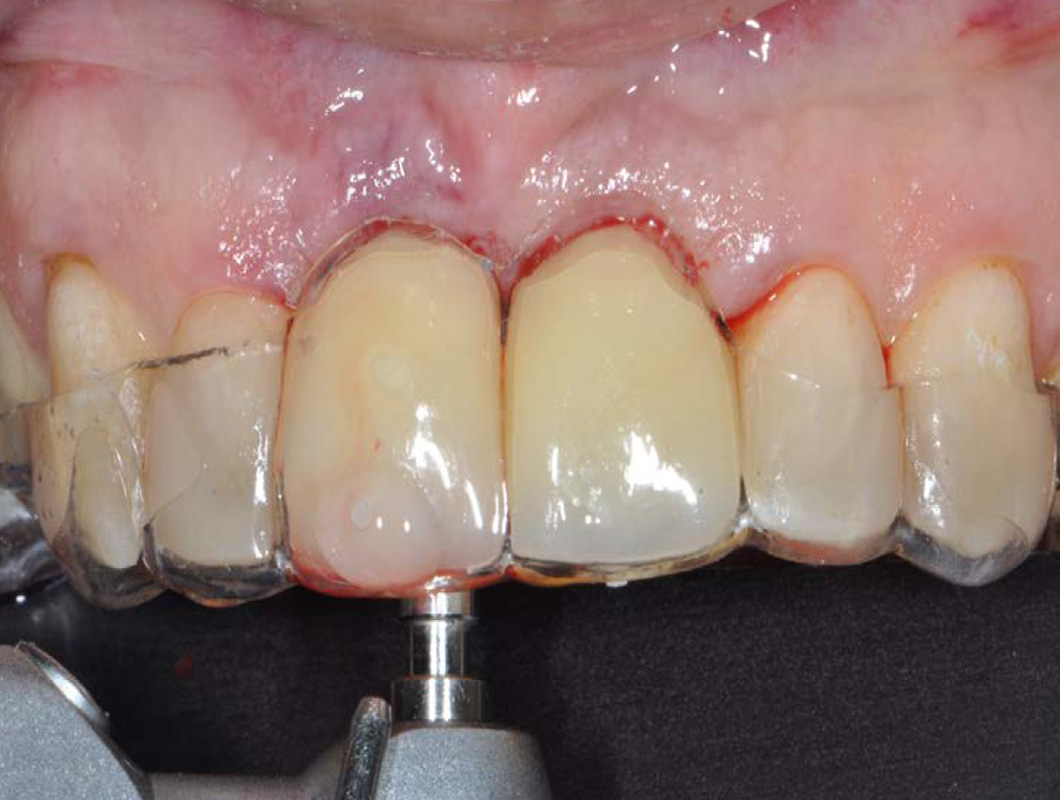
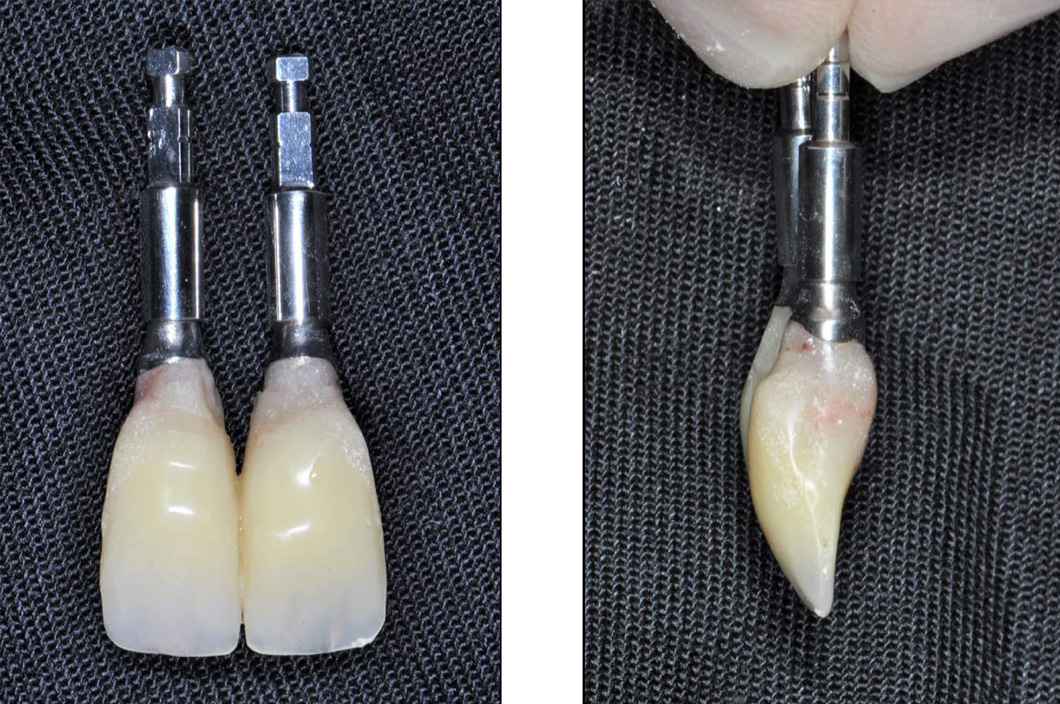
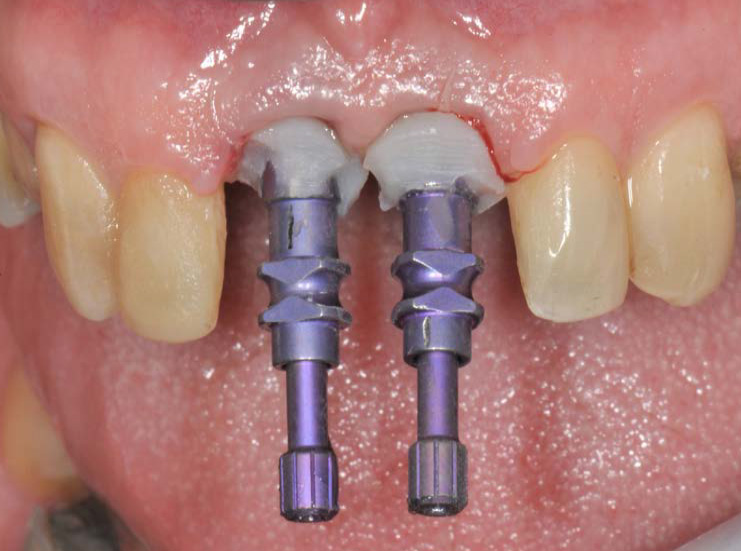
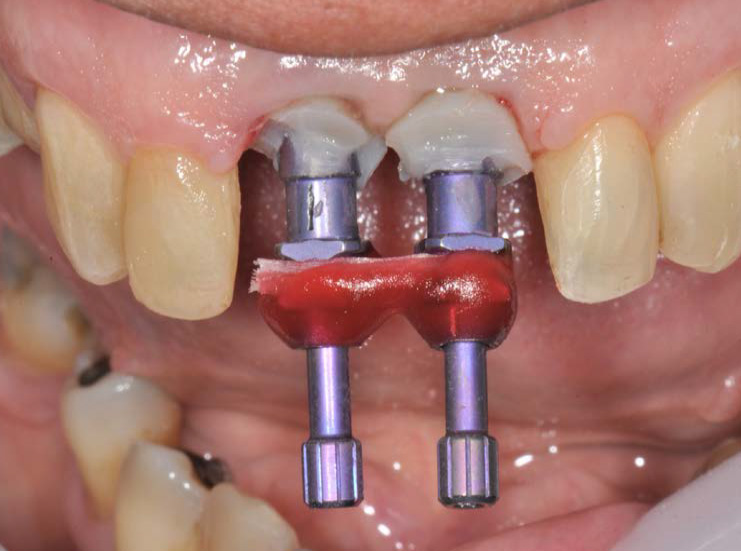
Step 9: Fitting two straight abutments


Direct application of acrylic resin
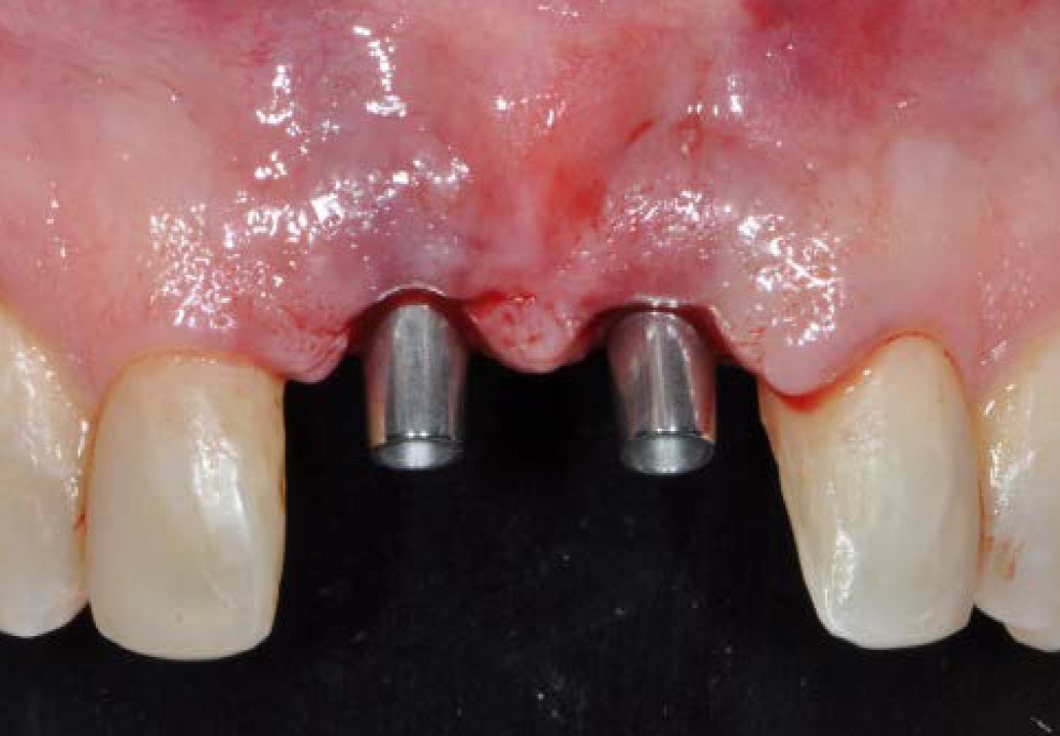
Abutments in place
1-Immediate Provitionalization with emergence trought cingulum
Direct application of acrylic resin
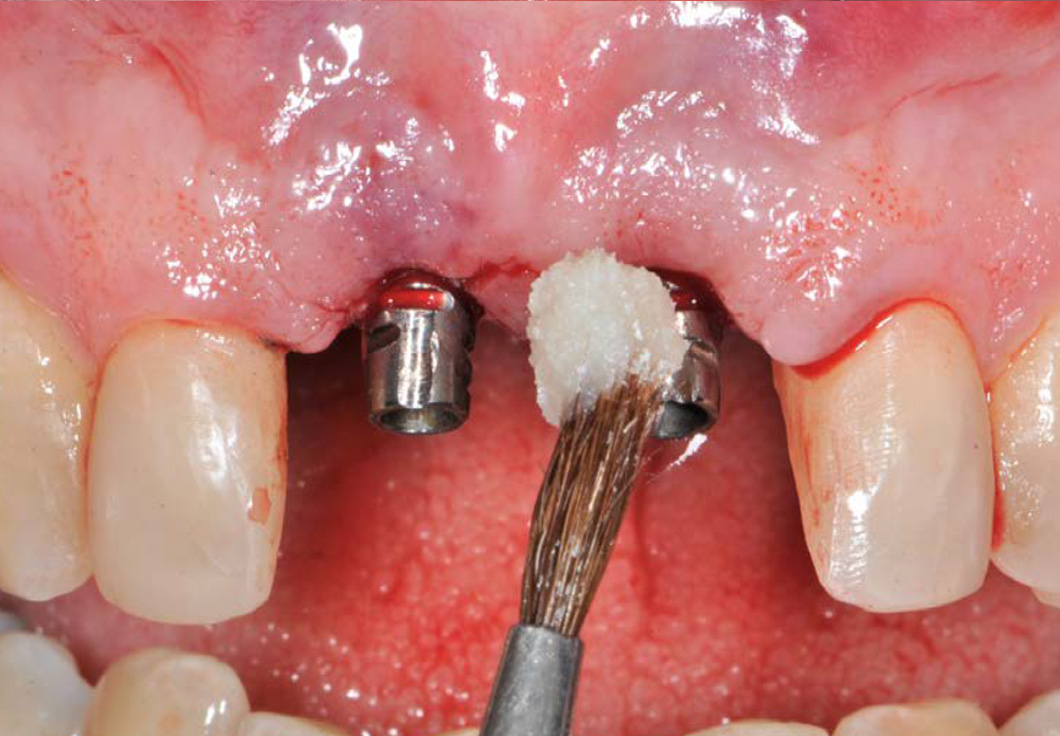
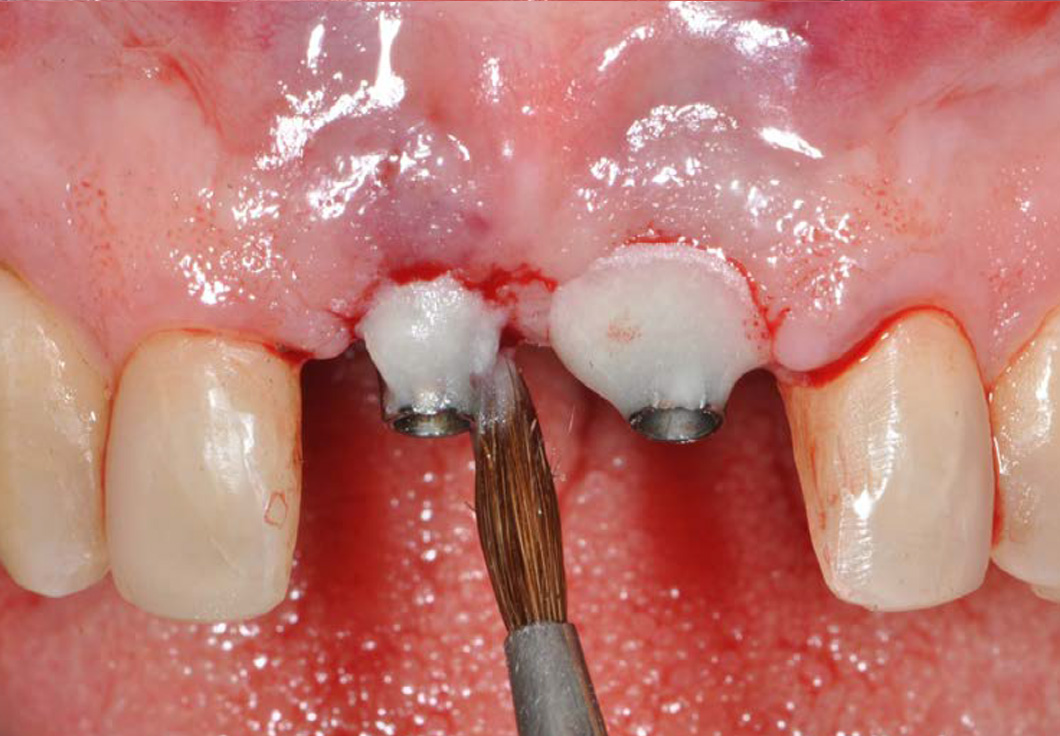
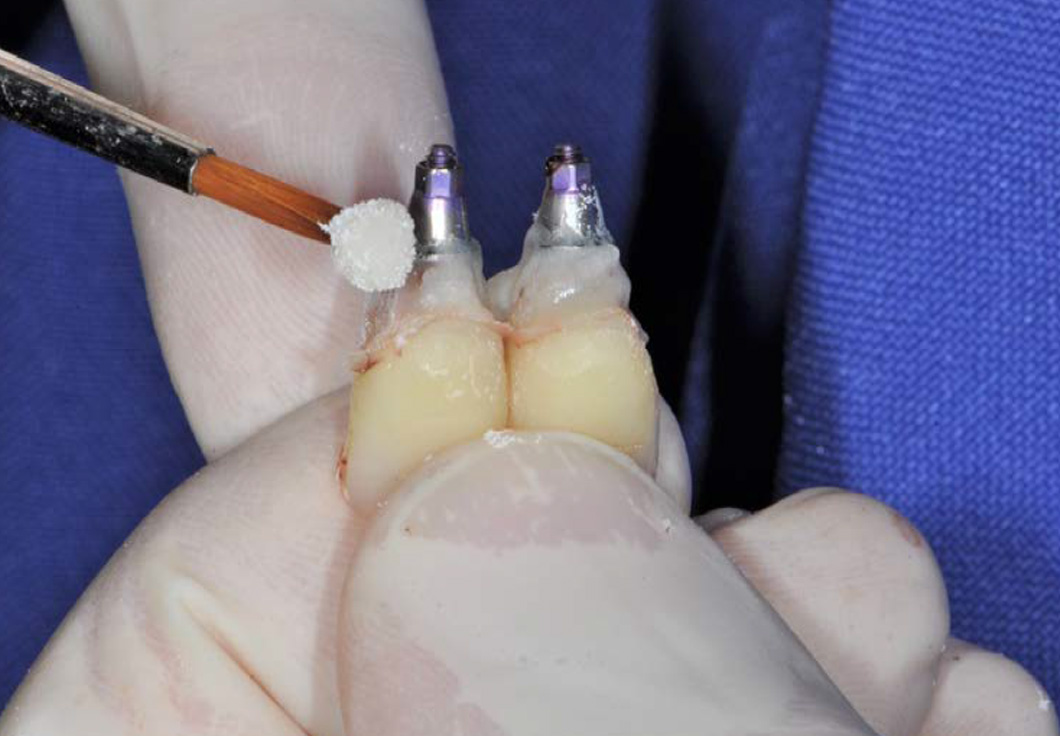
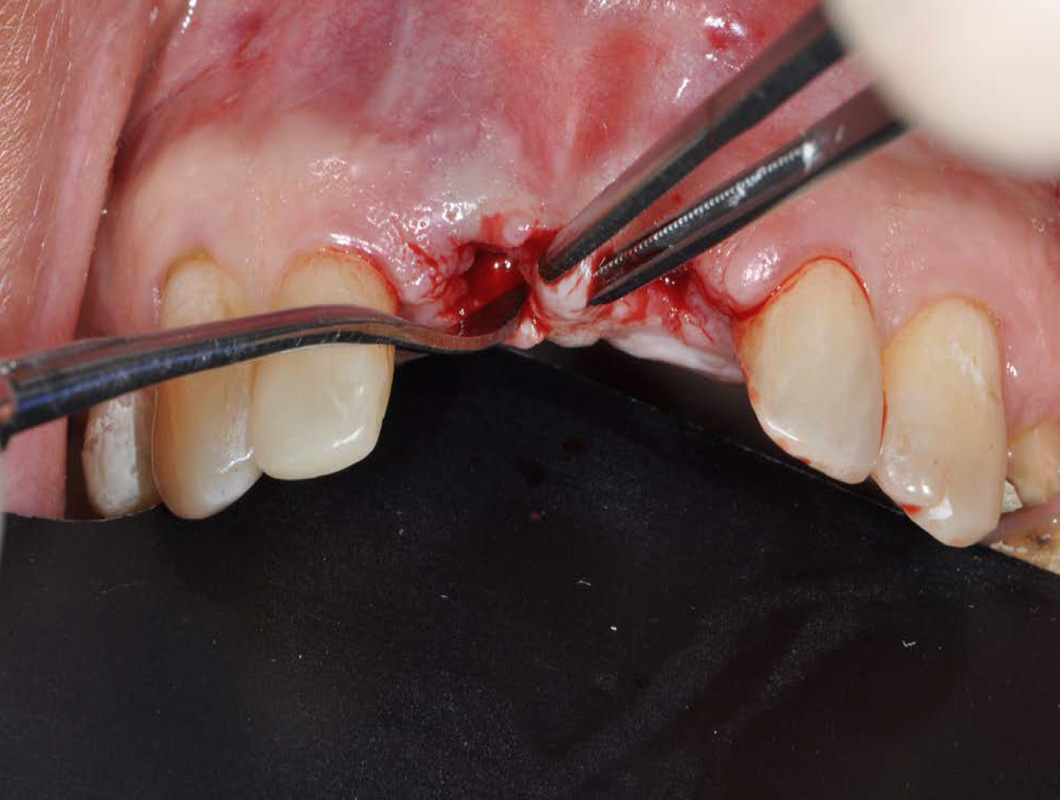
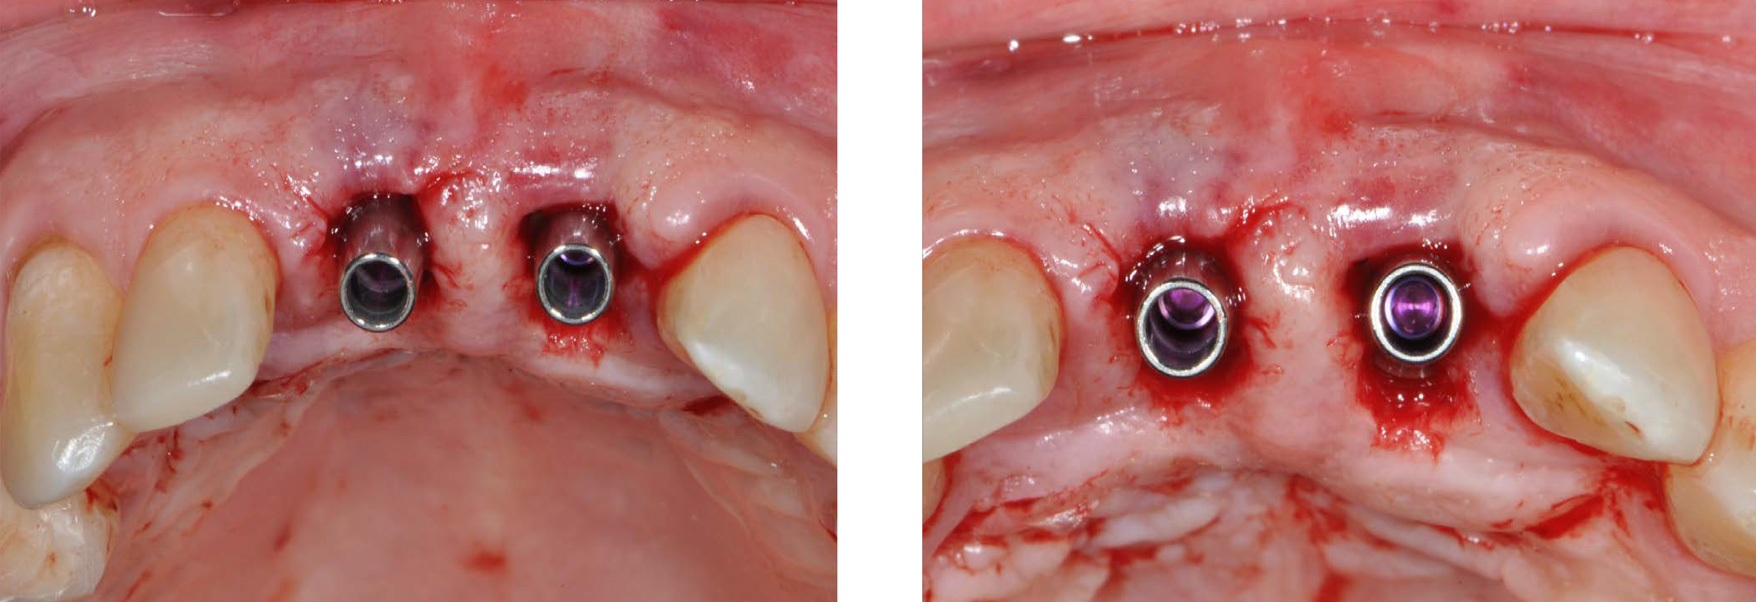
Grafting the gap between the implant and the buccal wall
Step 10: Use of Particulate 0.25- 1mm allograft demineralized cortical bone
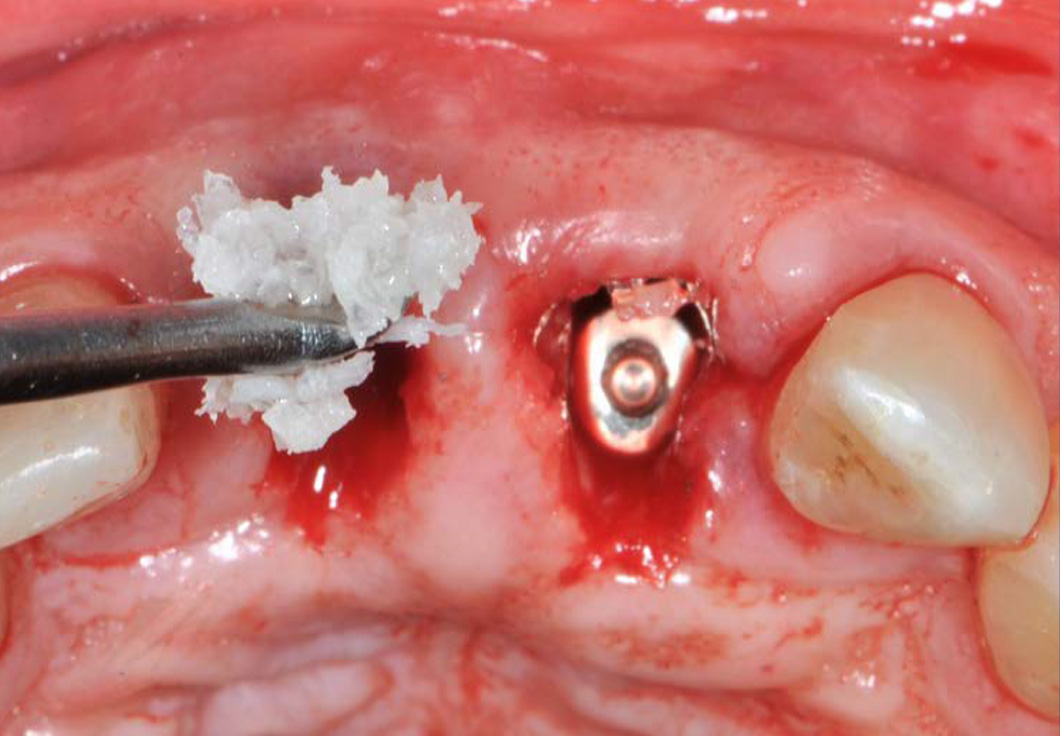
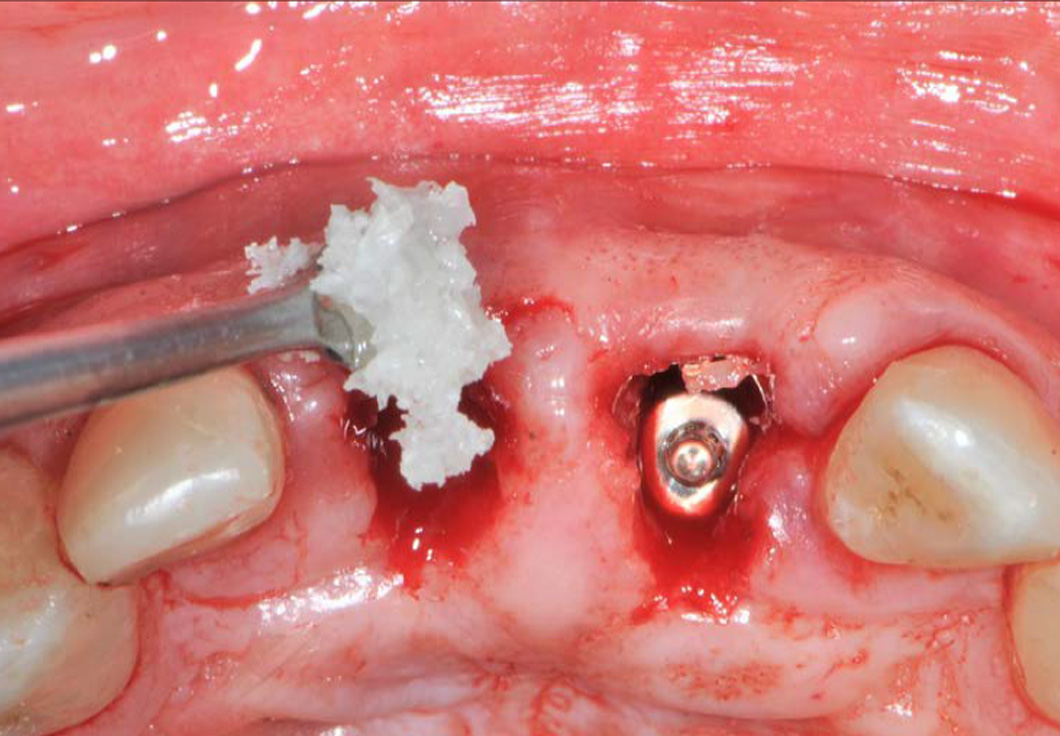

Bone graft material in place
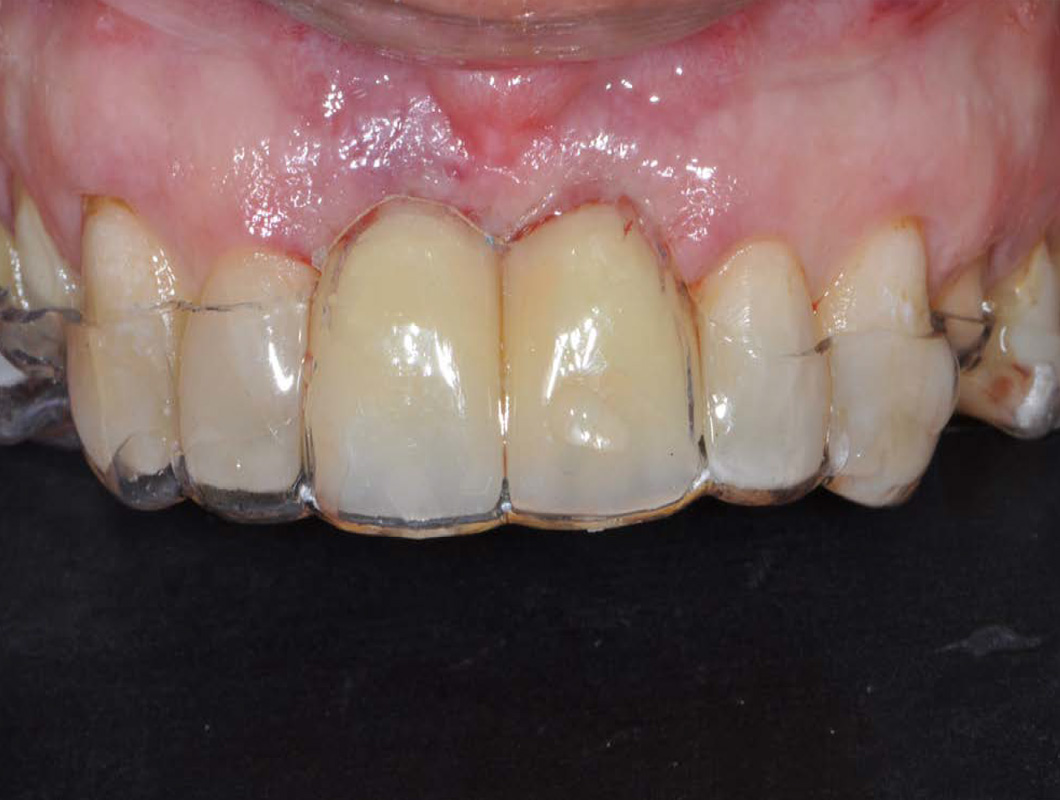
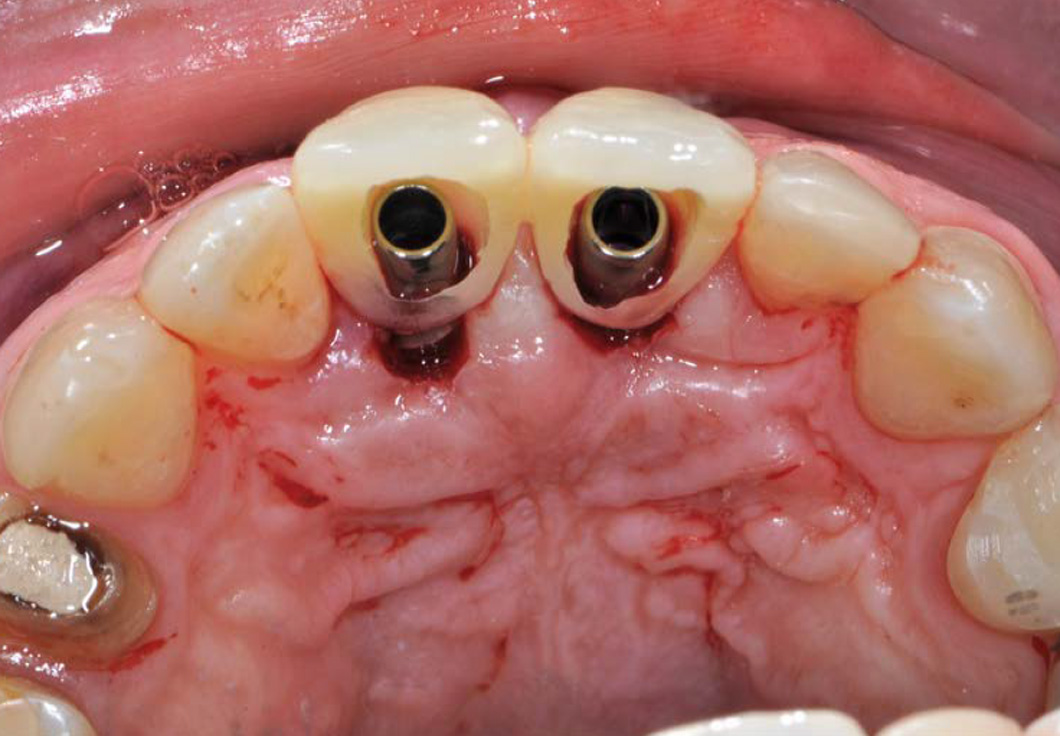
Provisional crowns
Step 11: Provisional crown with a concave profile design at the sub-crestal zonebone.
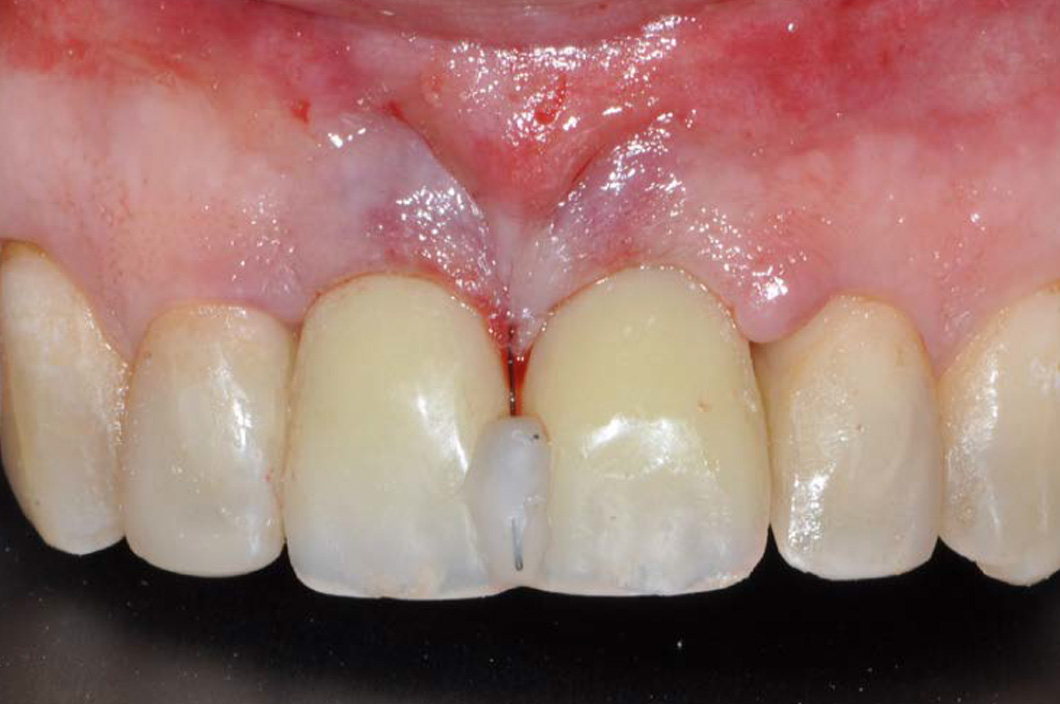
The papilla
Step 12: A suture is pulling the central papilla to fill the space between the provisional crowns.
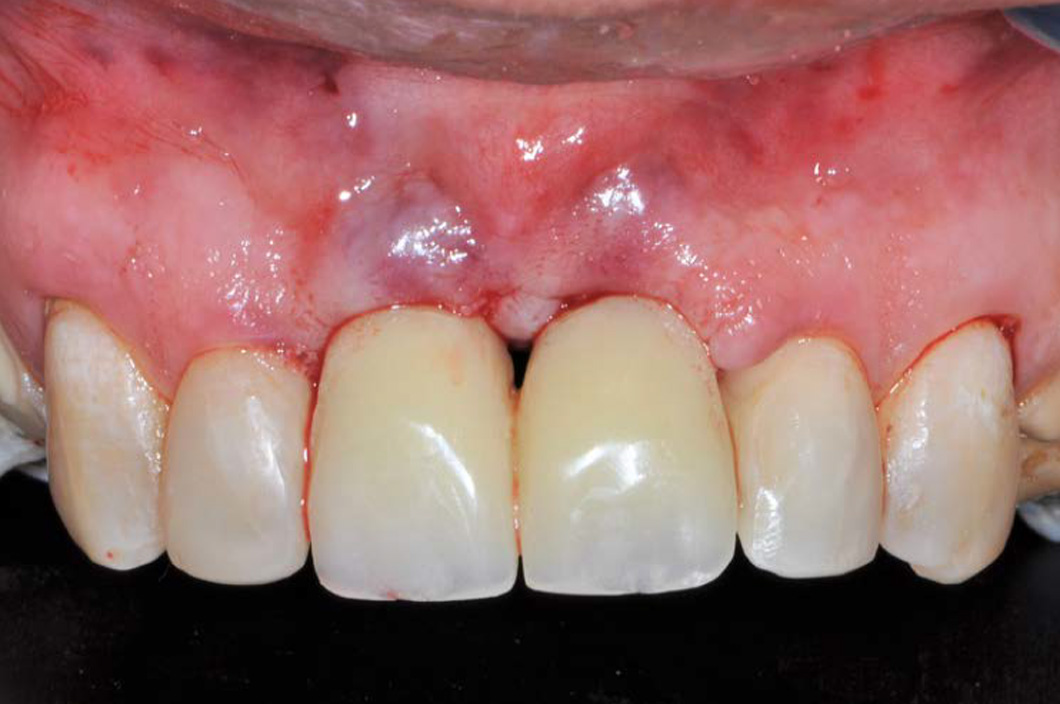
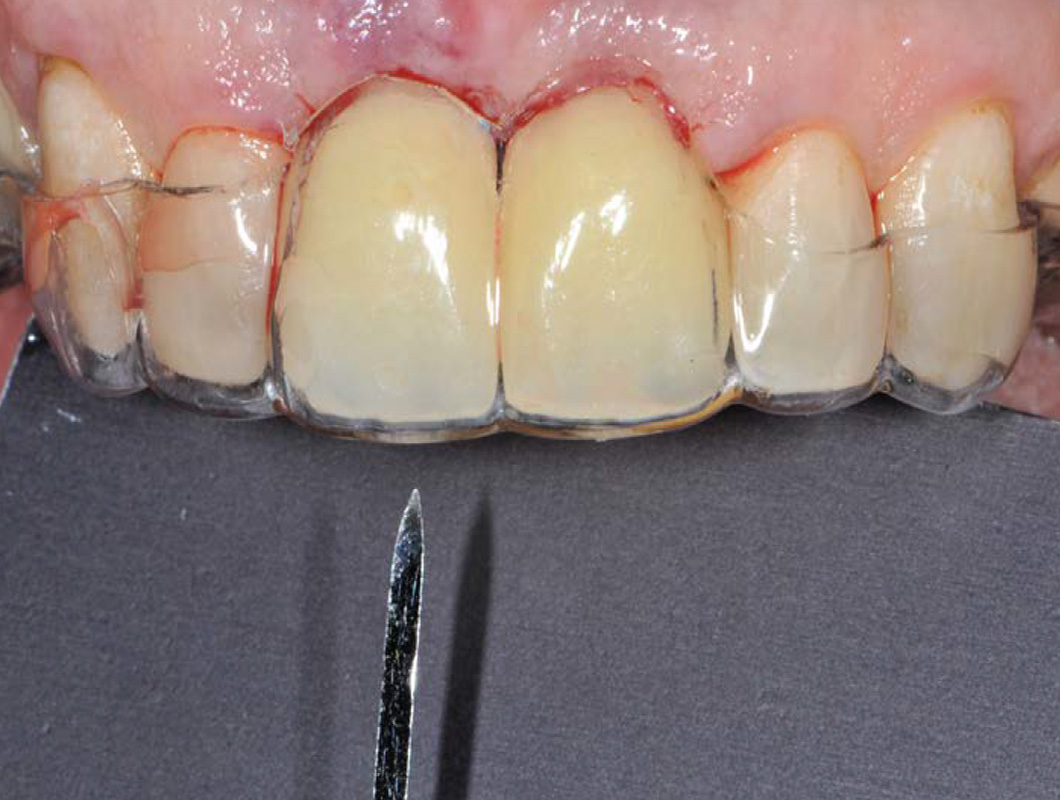
Five months post implant placement
Healing of the soft tissue
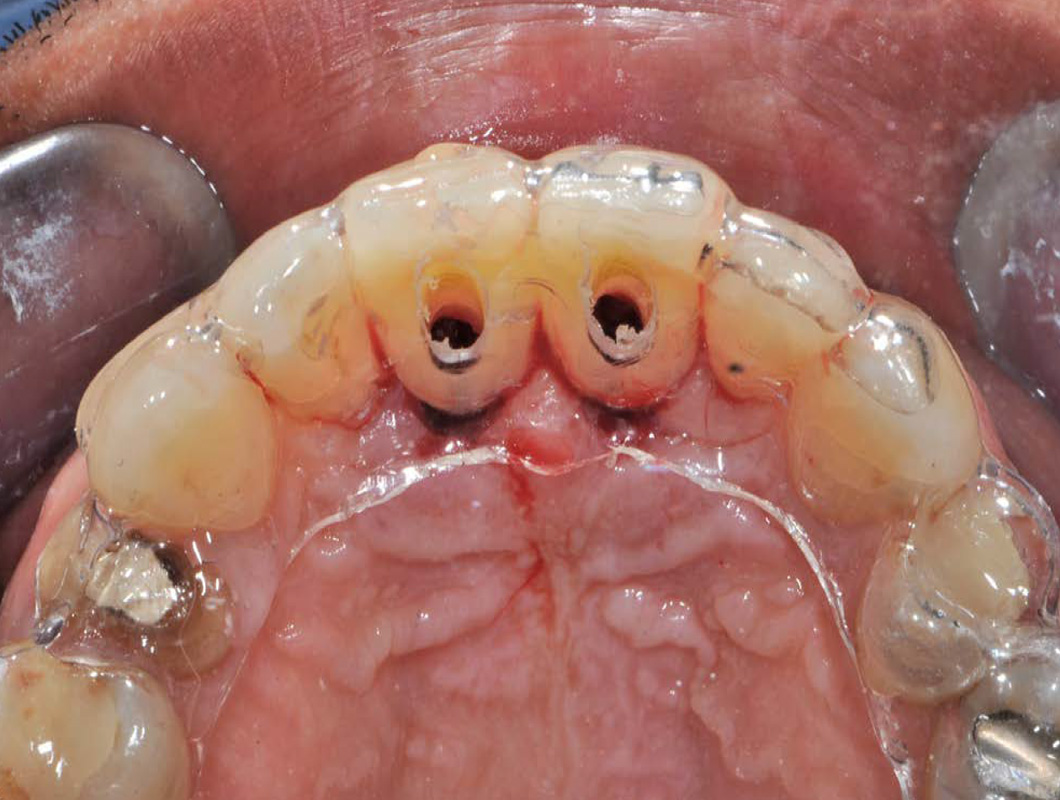
RP CloseFit Open tray transfers for open tray impression
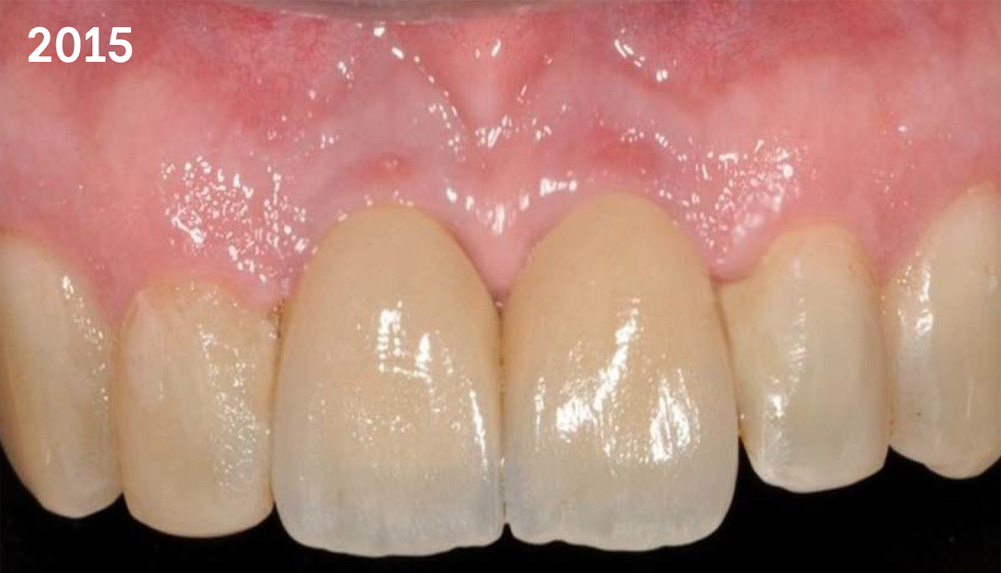
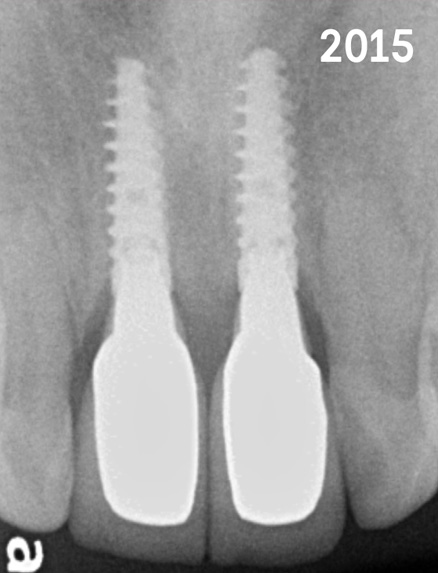
2015
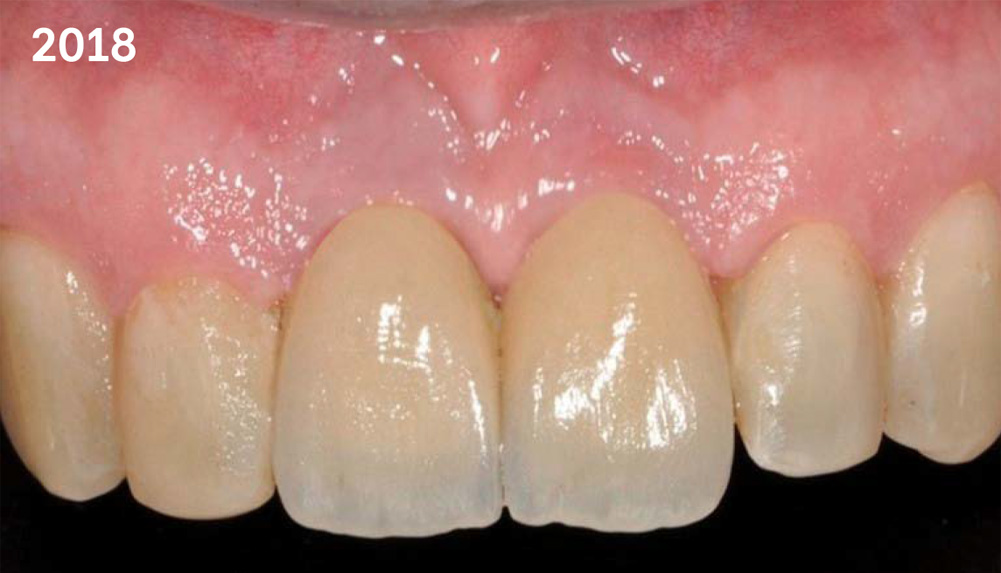
1-year follow-up with the final restorations
2018
3-year follow-up with the final restorations